Mountain Bike Trail Design and Previz in Houdini
Intro
I got into mountain biking growing up in Germany, spending much of my teenage years riding local trails, building jumps in the woods, and messing around at skateparks. After a long break, I eventually got back into riding a few years ago, particularly freeride and dirt jumping.
One issue I ran into was that most trails with the kinds of features I enjoyed riding - jumps, drops, and other technical features - were at least a 45-minute drive from my home in Waxahachie, Texas. There were some local trails, but they were mostly flat and geared toward cross-country riding, without the jumps or drops I was looking for.
Since we live on some property, I started building trails in the backyard. I also got involved with the local mountain-bike club because I wanted to help build more of the kind of stuff I like to ride (I like it when my wheels leave the ground :P).
Designing the jumps
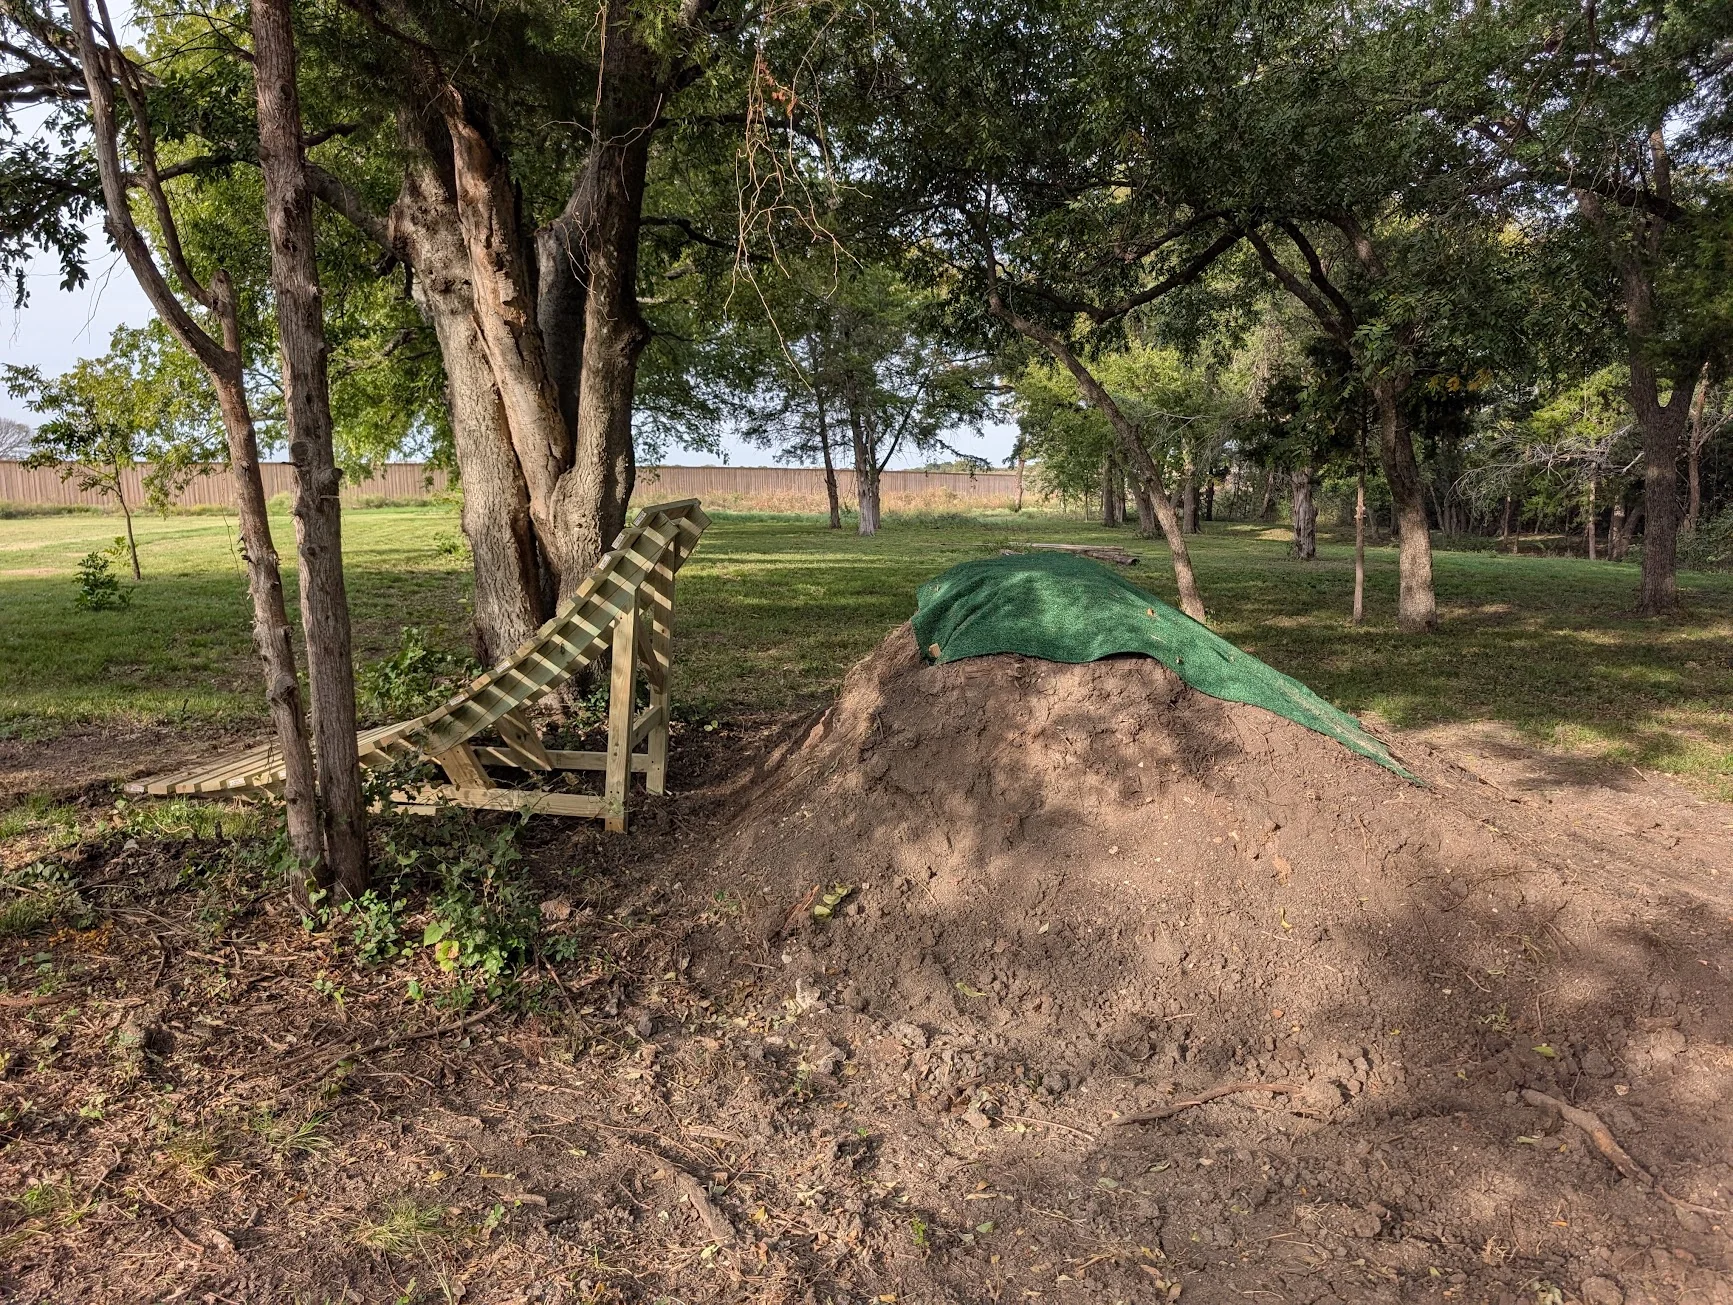
Initially, I built a few small jumps pretty much by eye, using whatever wood I had lying around. But I quickly realized there was a bit more to building good jumps than just screwing together some plywood.
I started doing some research, looking at other builds online and talking to my friend Billy - who had built the dirt jumps at Alliance Skatepark in Grand Prairie.
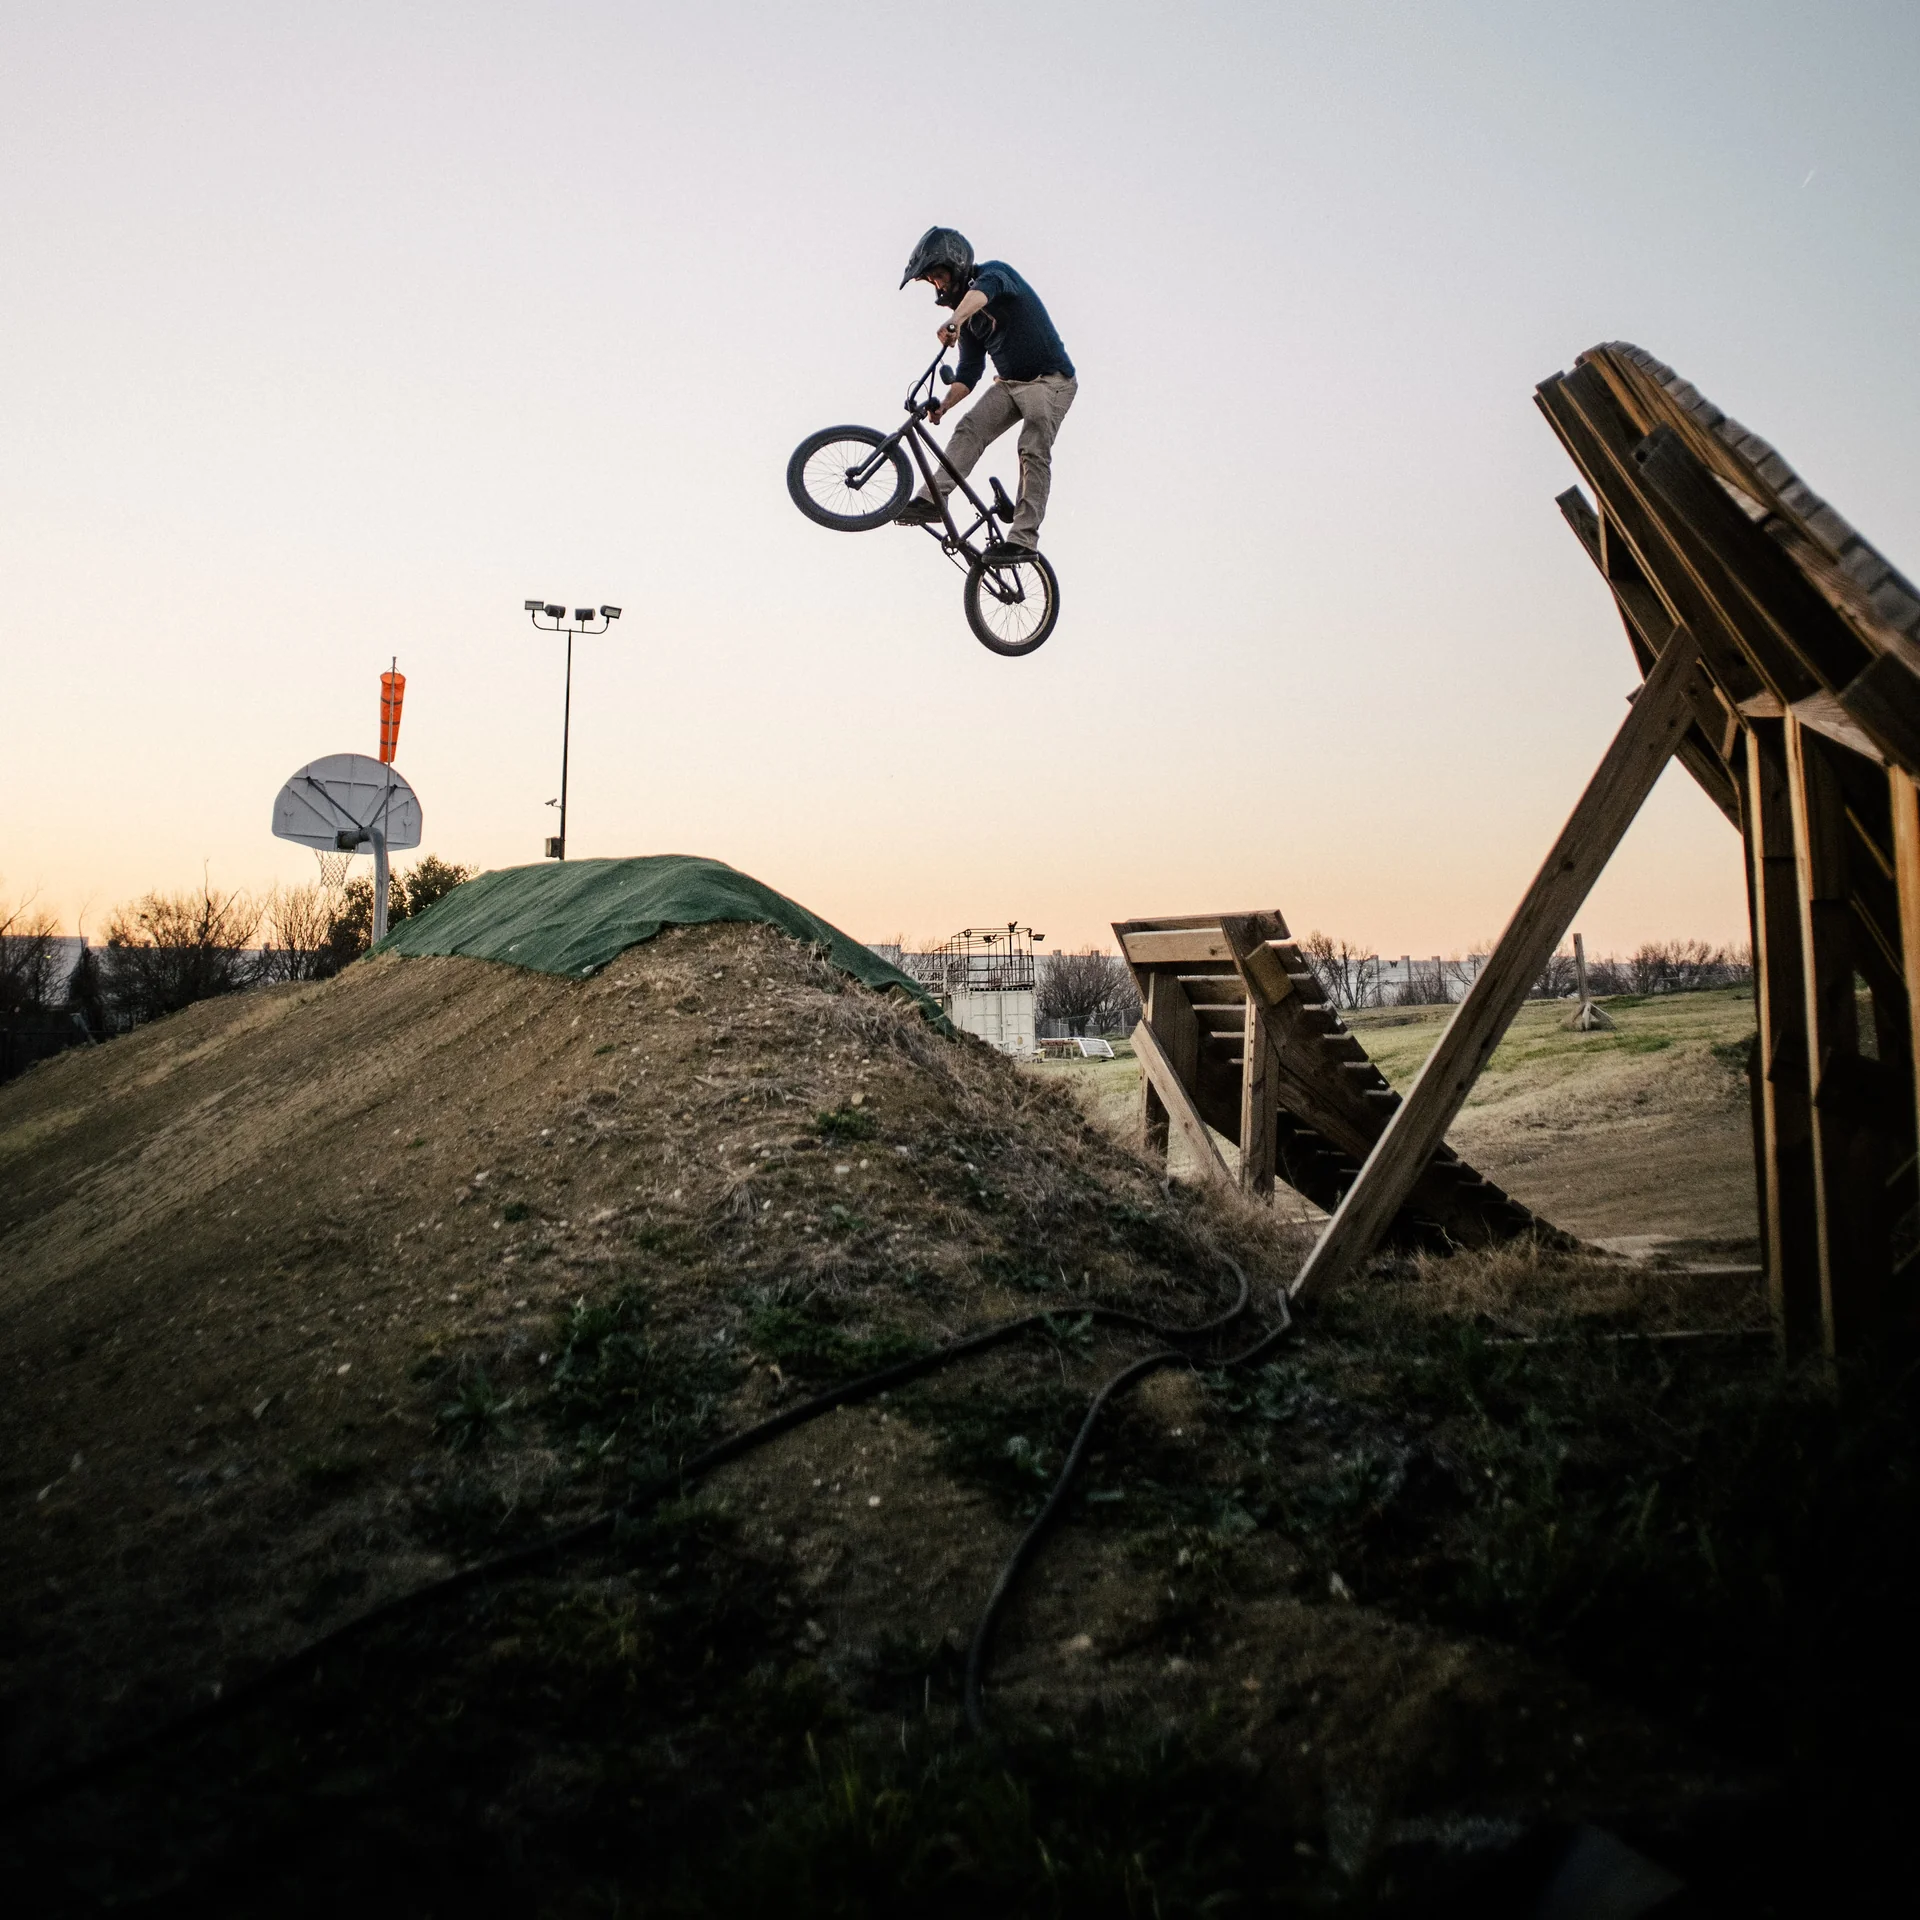
As it turns out, the basic physics of a jump are pretty straightforward. The trajectory is largely determined by your speed and takeoff angle. Of course, there are other things to consider, like the radius of the takeoff, how smoothly it transitions, and the shape and position of the landing.
The tricky part is getting all of this mostly right before you build anything. Especially with gap jumps, you don't want to find out that your landing is too short or your takeoff is too steep after spending days building everything. While you can move a wooden ramp around, changing its radius or rebuilding a dirt landing is quite a bit more work.
Planning things out in Houdini
I came across a few online resources - including a jump arc calculator, which gave me a good starting point. But I wanted something that would let me plan out an entire jump line, visualize the trajectories, experiment with different takeoff angles and speeds, and get a better idea of the spacing and landing requirements before actually building anything.
Naturally, with my background in Houdini, I figured this would be a pretty interesting little procedural tool to build.
As I also started working with the local mountain bike club on proposals for new trail features, having a way to visualize and communicate these designs became even more useful.
Tools
I ended up with five tools that do most of the heavy lifting.
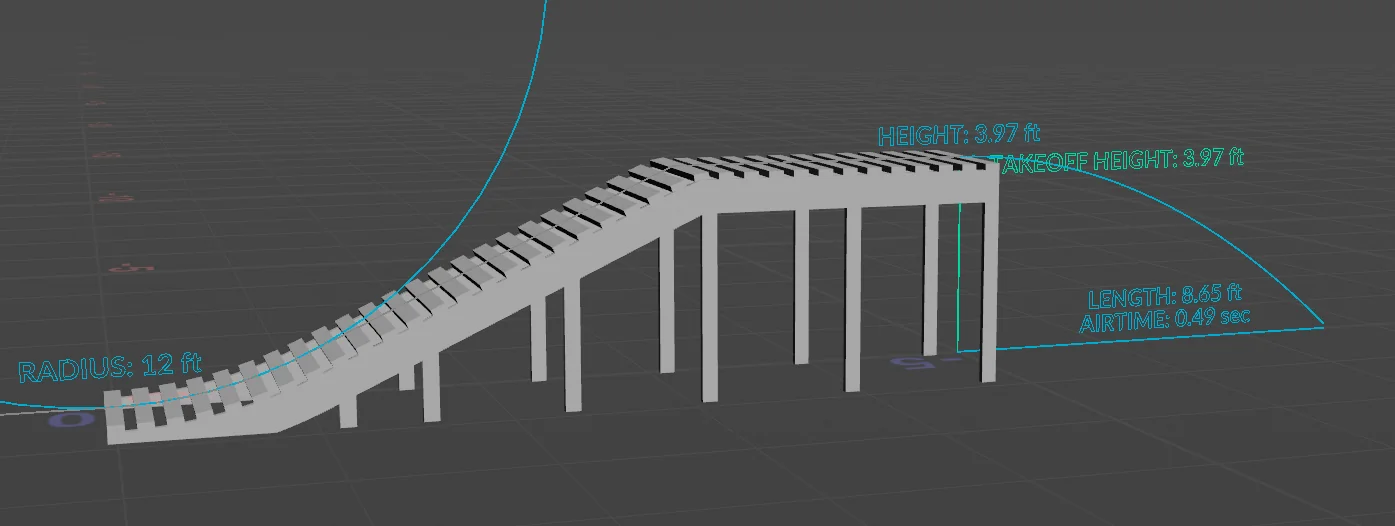
Jump Builder
This tool lets me tweak key jump parameters like arc, takeoff angle, and speed, and visualize the jump dimensions and “flight path.” NOTE: This tool isn’t intended to show the final “wooden build plan.” I use it for previz, then recreate the actual wooden jump design in CAD software. A fully procedural build plan could be a cool addition, though!
Drop Builder
Similar to the Jump Builder, but instead of a vertical takeoff, we ride off a flat surface and drop downward.
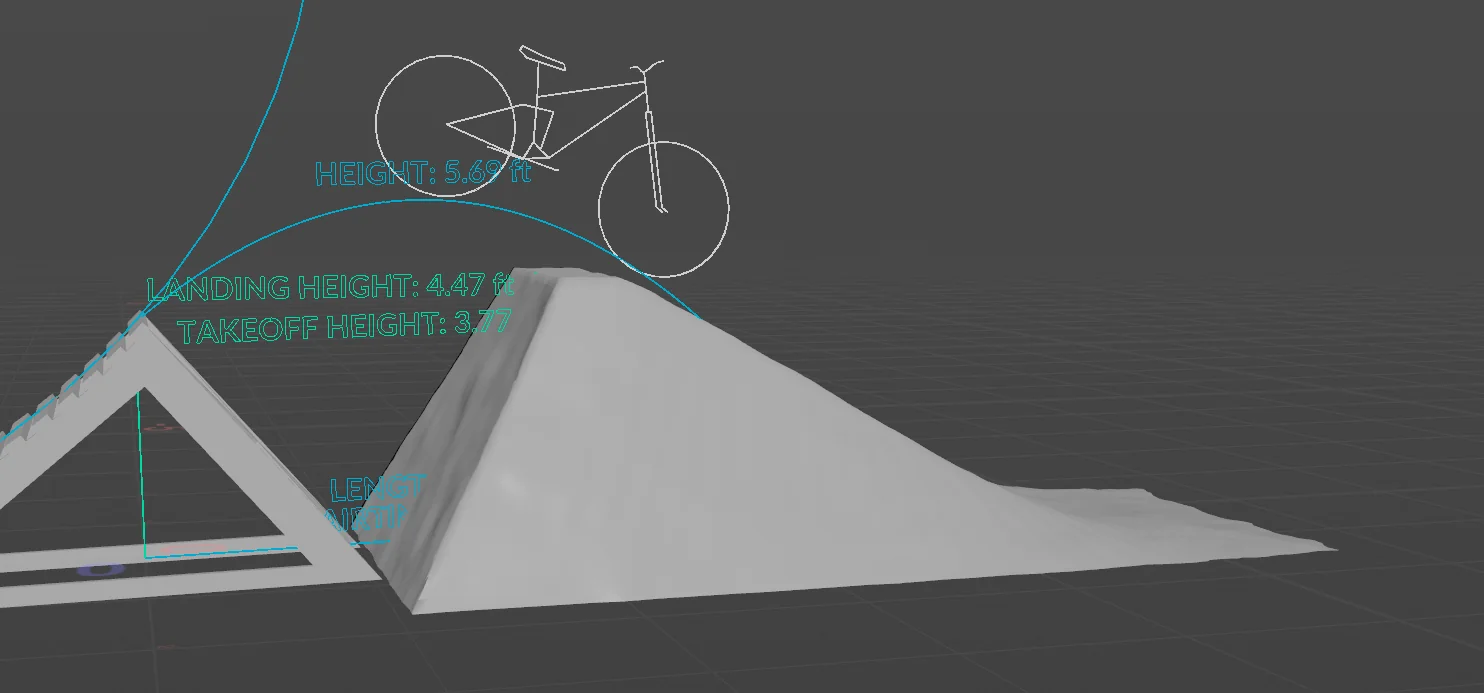
Landing Builder
This one works alongside the tools above as more of an “eyeball” tool for judging the size and angle of a landing.
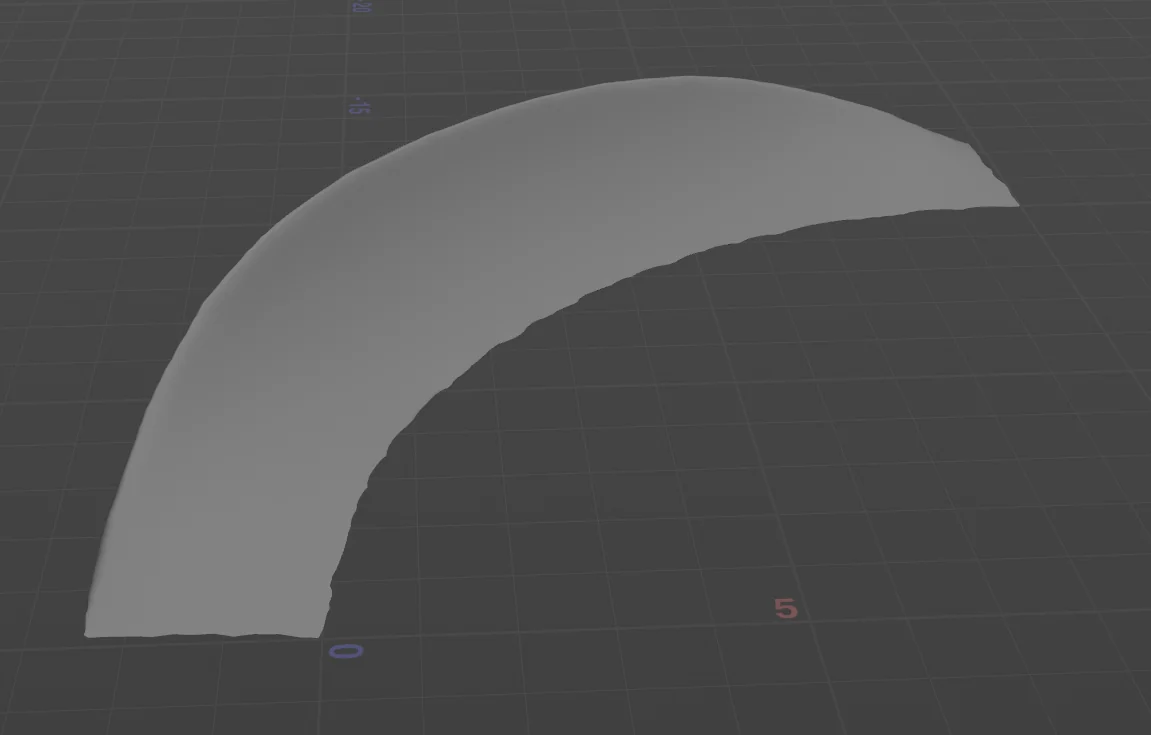
Berm Builder
Again, this is more of a visual tool for getting a sense of the berm’s size. It could be expanded to include more of the math.
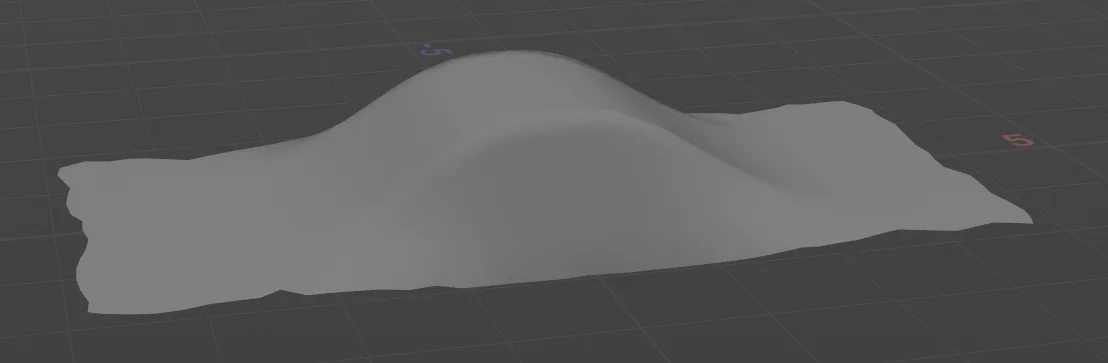
Roller Builder
Again, this one is mostly visual, for planning where to place “rollers”—little mounds that can be used to “pump” and generate speed (or even be jumped).
Trail Design Process
I pretty naturally settled on a process I tend to use for designing the trails I work on:
Lidar/Drone Scan of the Terrain
First, I create a scan of the terrain in its current condition. This might include existing features or roughed-in dirt mounds for landings. Most of the time, I use my iPad’s LiDAR scanner with Polycam because the scale and slope are usually pretty accurate right out of the gate. I did use a drone scan for one larger area, but it required careful adjustments to the scale and slope alignment. Photo- and video-based scans can be off in scale or rotation.
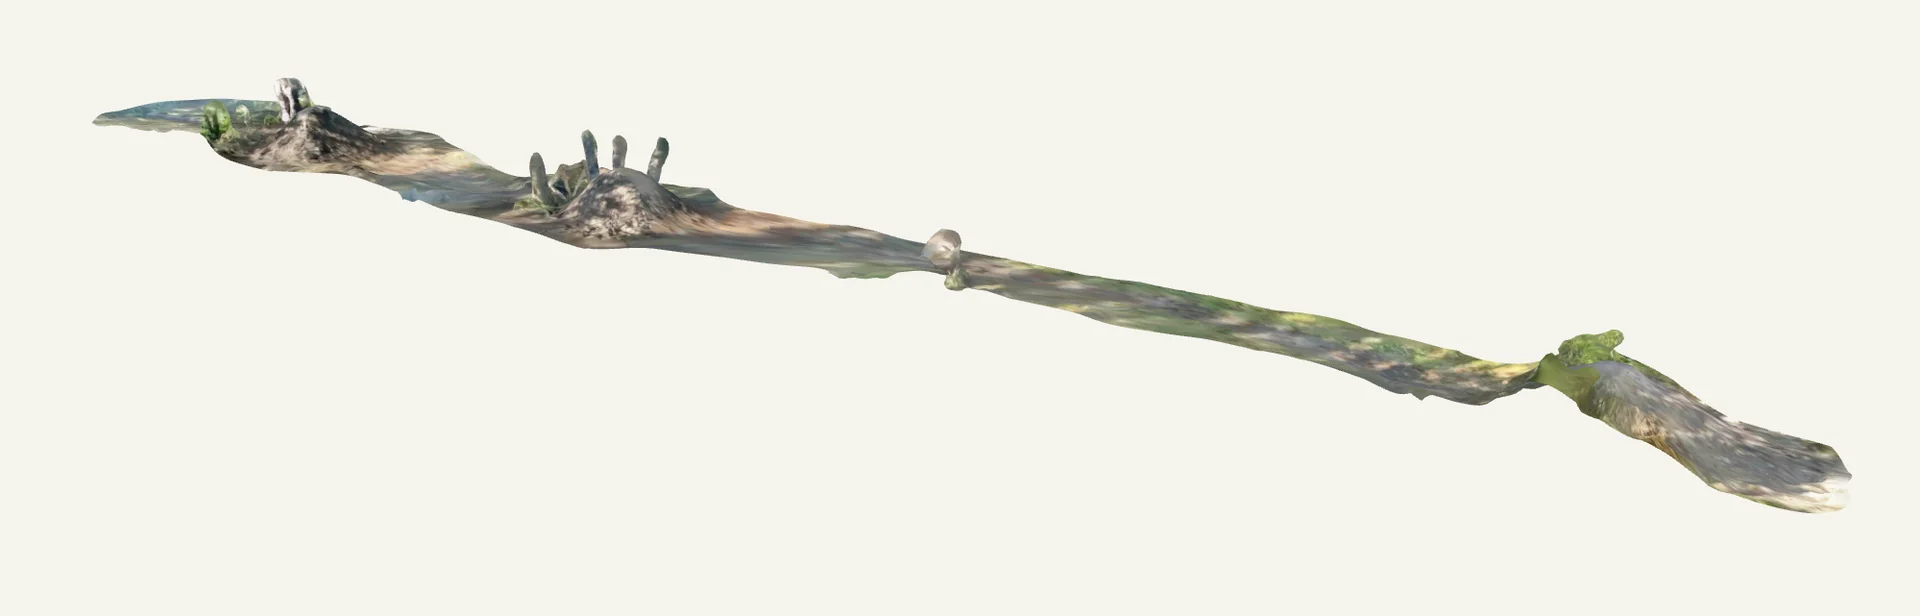
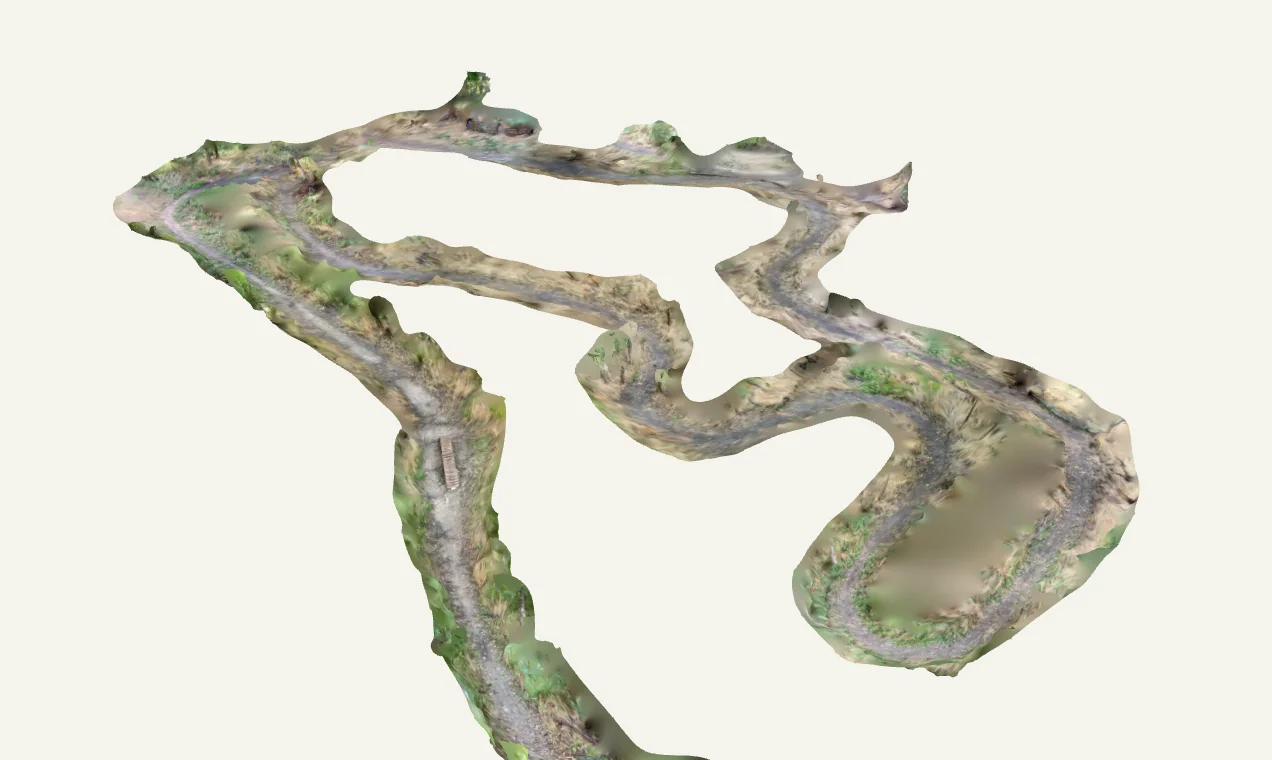
The results of these scans usually look pretty unimpressive, but they provide valuable information.
Getting a rough idea of trail speed.
Since speed determines the kind of jump trajectory you’ll get, it’s important to have a rough idea of how fast you’ll be going. This is a little tricky, since each feature you add affects your speed at the next one. Some features slow you down; others can help you pick up speed—for example, by pumping.
The easiest way would probably be to use a speed gun, but I usually use a simpler method: video and a tape measure. I set up my camera, measured and marked a set distance, then recorded a few videos of me riding through it. I used something easy to spot in the video—often whatever I had with me or found on site, like my gloves, a shovel, or a piece of wood lying around—and then calculated my average speed.
For the most part, this approach has given me a “close enough” result. Depending on the trail, I might estimate the speed at several points where I expect to build features.
Testing the features in Houdini
With the scan and a rough trail speed, it’s time to get into Houdini. First, I load the scan and do any cleanup or adjustments it needs. In some cases, I’ve had to split the scan into a few sections and manually move and stitch them back together. Sometimes there’s also extra scanned geometry, like tree canopies, that gets in the way.
Then I start placing the features and adjusting their position and size, using the trajectory previews as a guide. In this example, I had already mounded up the landings, so I was mainly looking to fit the wooden jump features to them.
In some cases, I’ve also used this process with jumps that are already built and included in the scan, to double-check the trajectory before hitting them for the first time. It can help me figure out whether a jump needs to be moved or its landing adjusted.
Designing a full trail
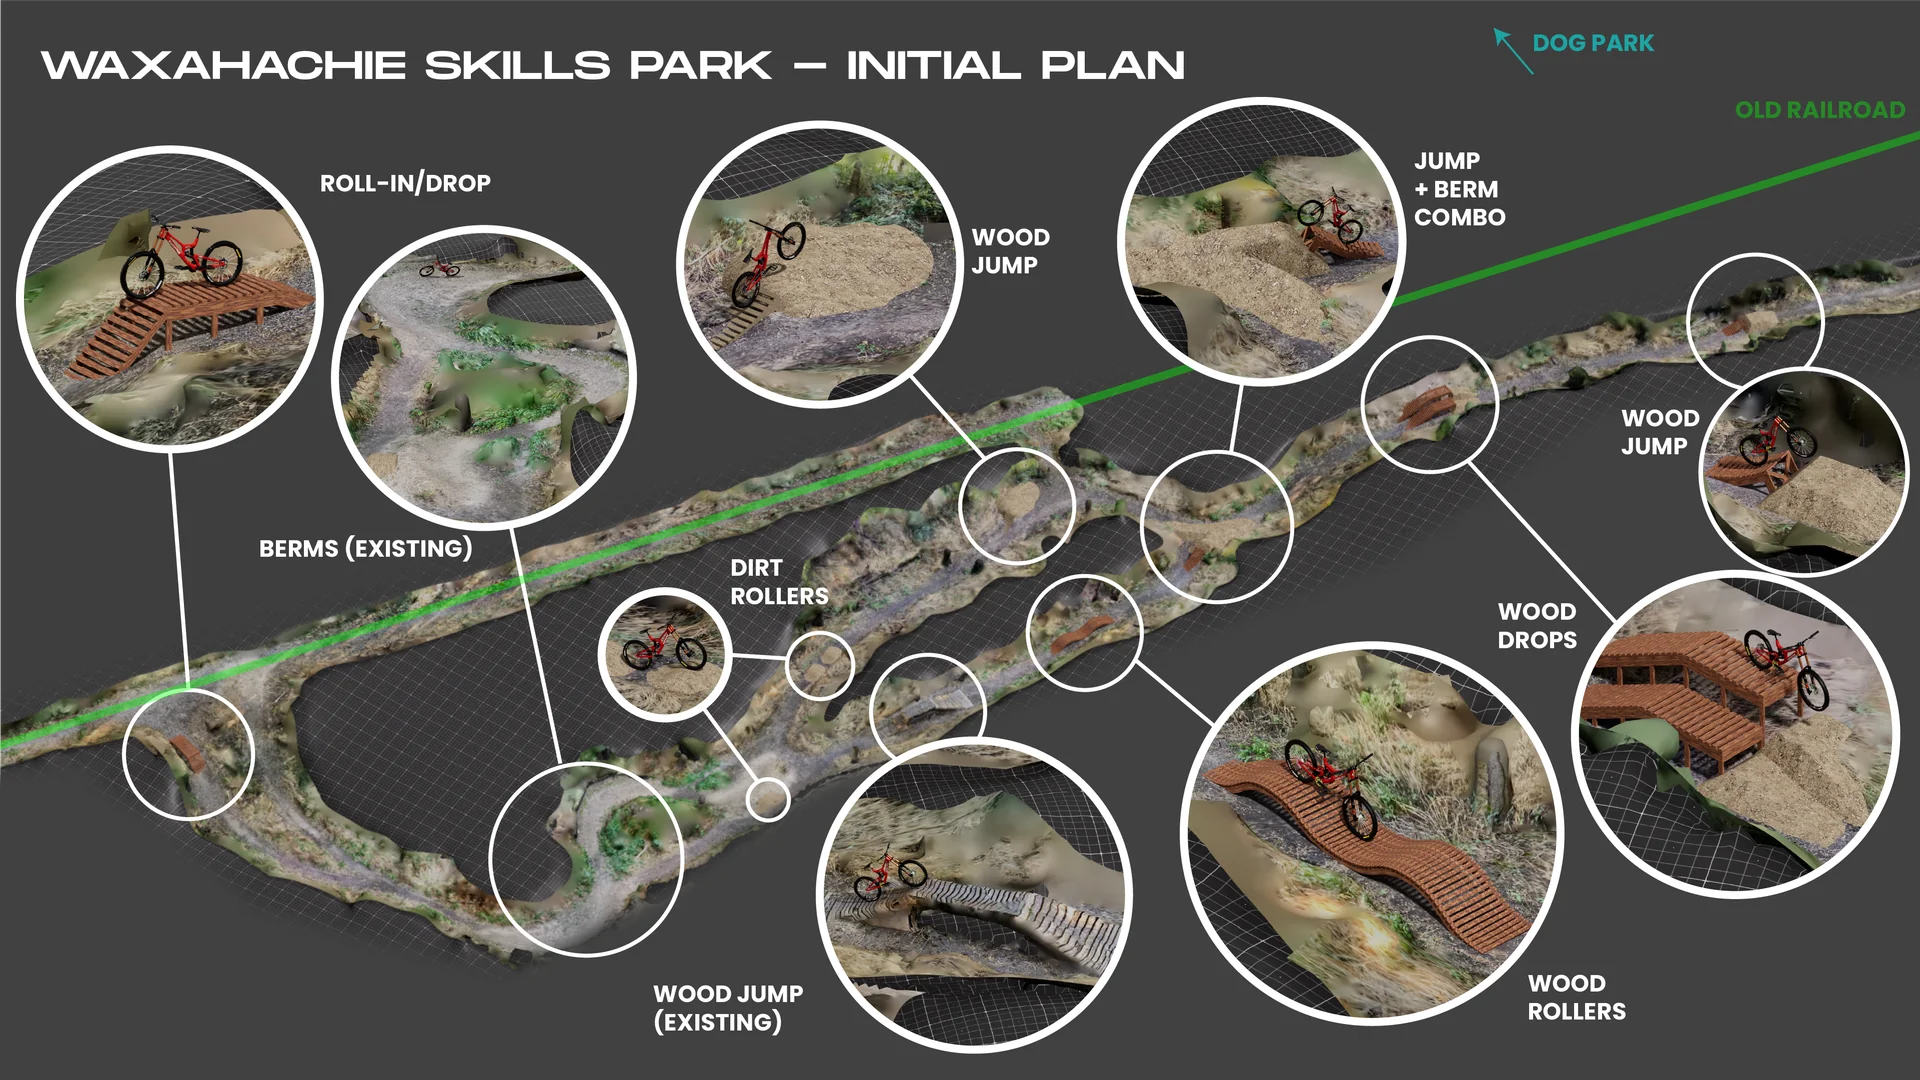
For my backyard, the feature spacing was already set. For some of my other work on local mountain bike trails, I went further, laying out a full trail plan and even creating a simple “trail ride preview.”
Here are a few assets I put together to pitch the plan to the local parks staff:
Other benefits
Having a digital representation of the area and jumps allows us to do other cool stuff.
For example, one of the proposed trail areas had some existing dirt mounds. Using the scan data and Houdini’s analysis tools, I was able to estimate how many cubic meters of dirt were available and how much we’d need for the planned landings. This gave me a good idea of how much extra dirt we might need to bring in, or whether we needed to downsize some of the planned jumps and landings.
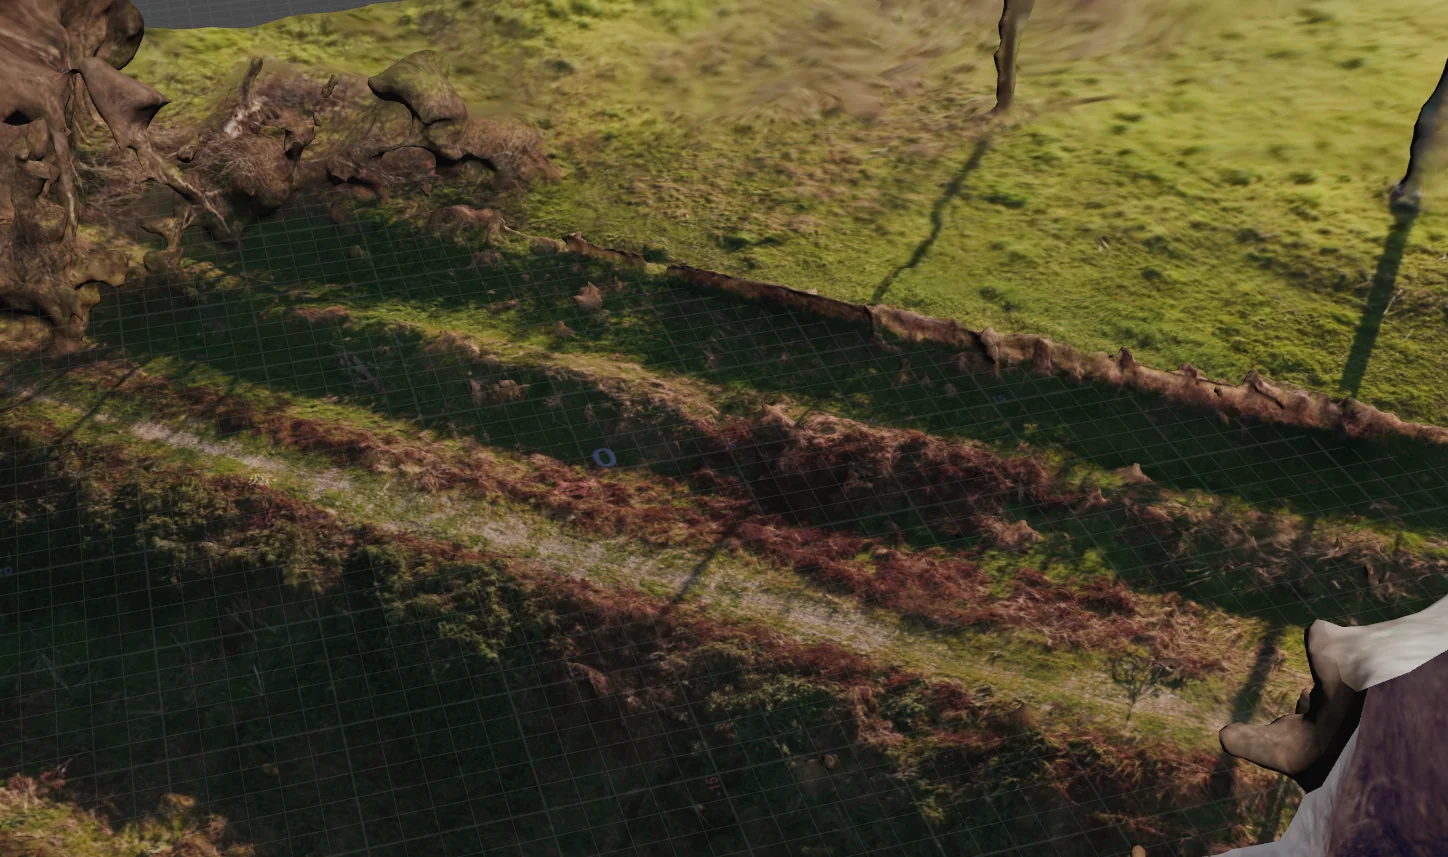
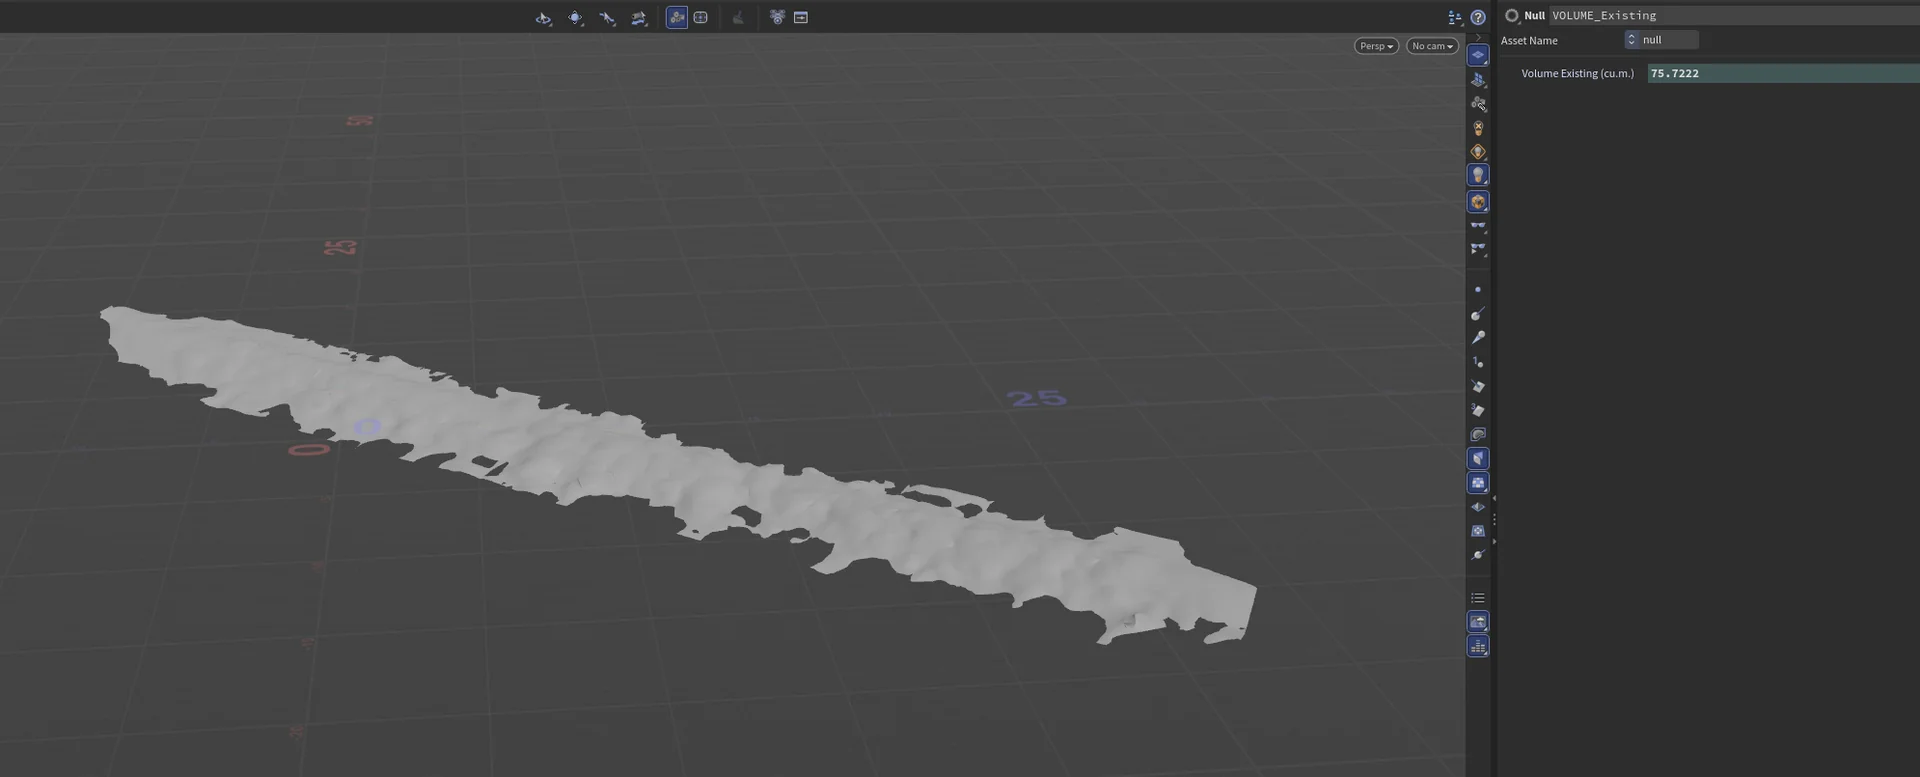
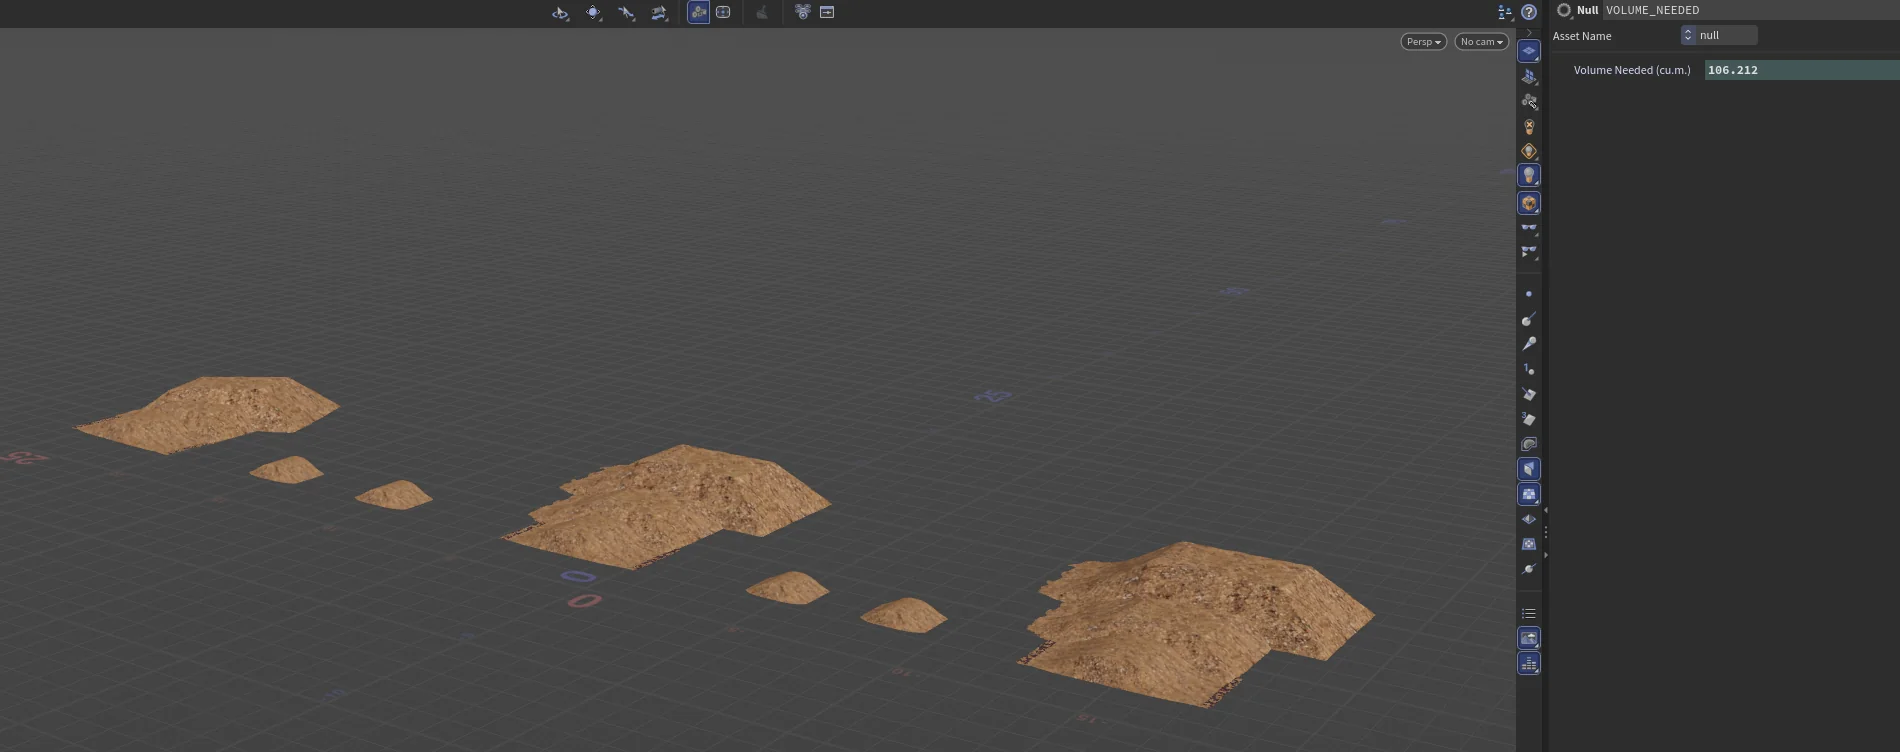
In this case, the planned features would require about 30 cubic meters of additional dirt.
Building the real thing
Once the overall design looks good in the “digital twin” of the trail, it’s time to take it to the real world.
I usually start by designing the actual feature in CAD in Plasticity, using real-world dimensions and accounting for the stock I have available.
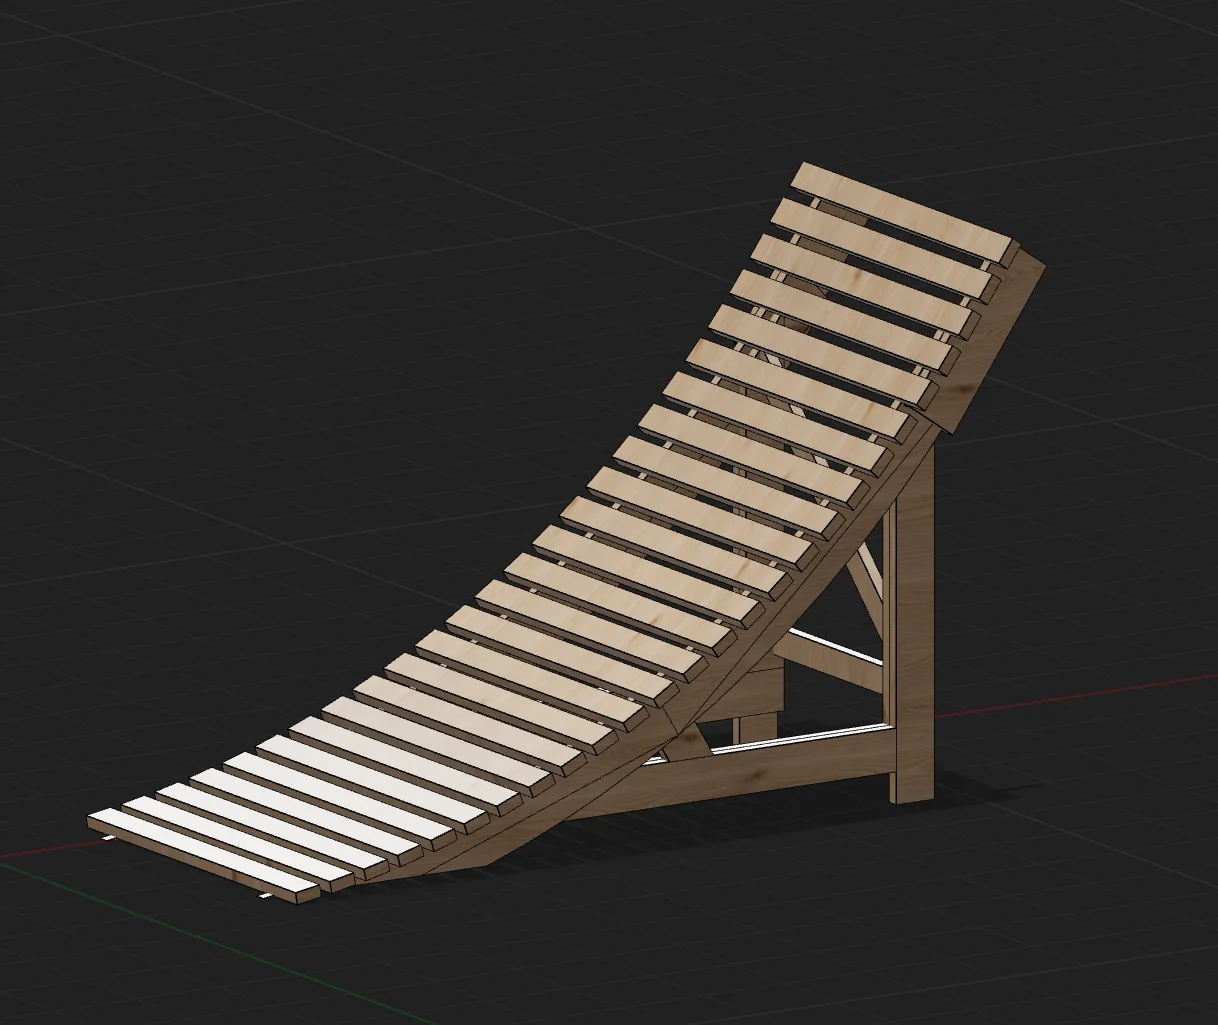
I also created a little utility in Houdini: I feed it my model, and it uses the UV layout tools to fit the parts into standard stock sizes. That gives me a good idea of how much wood to buy.
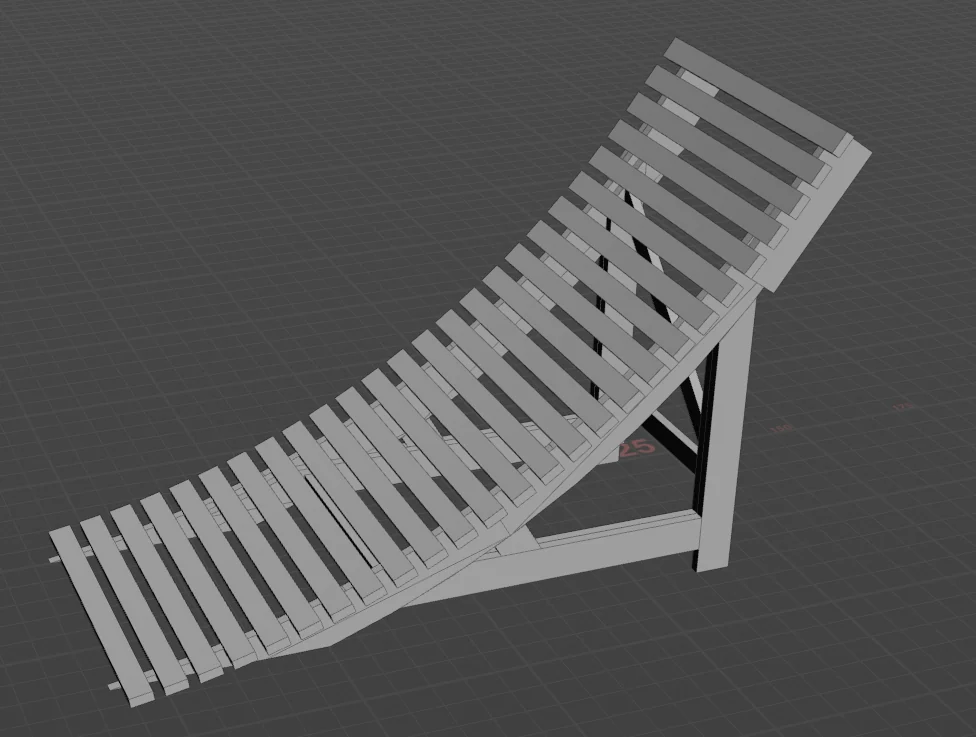
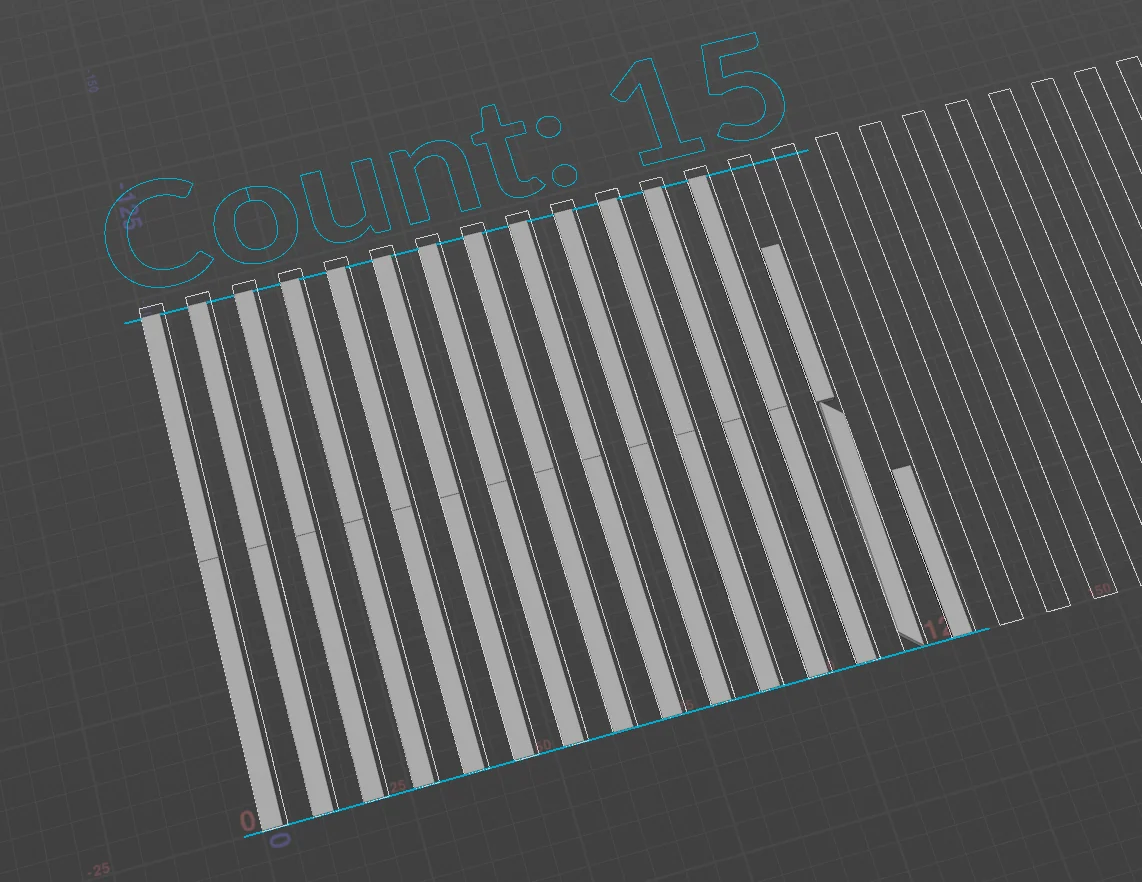
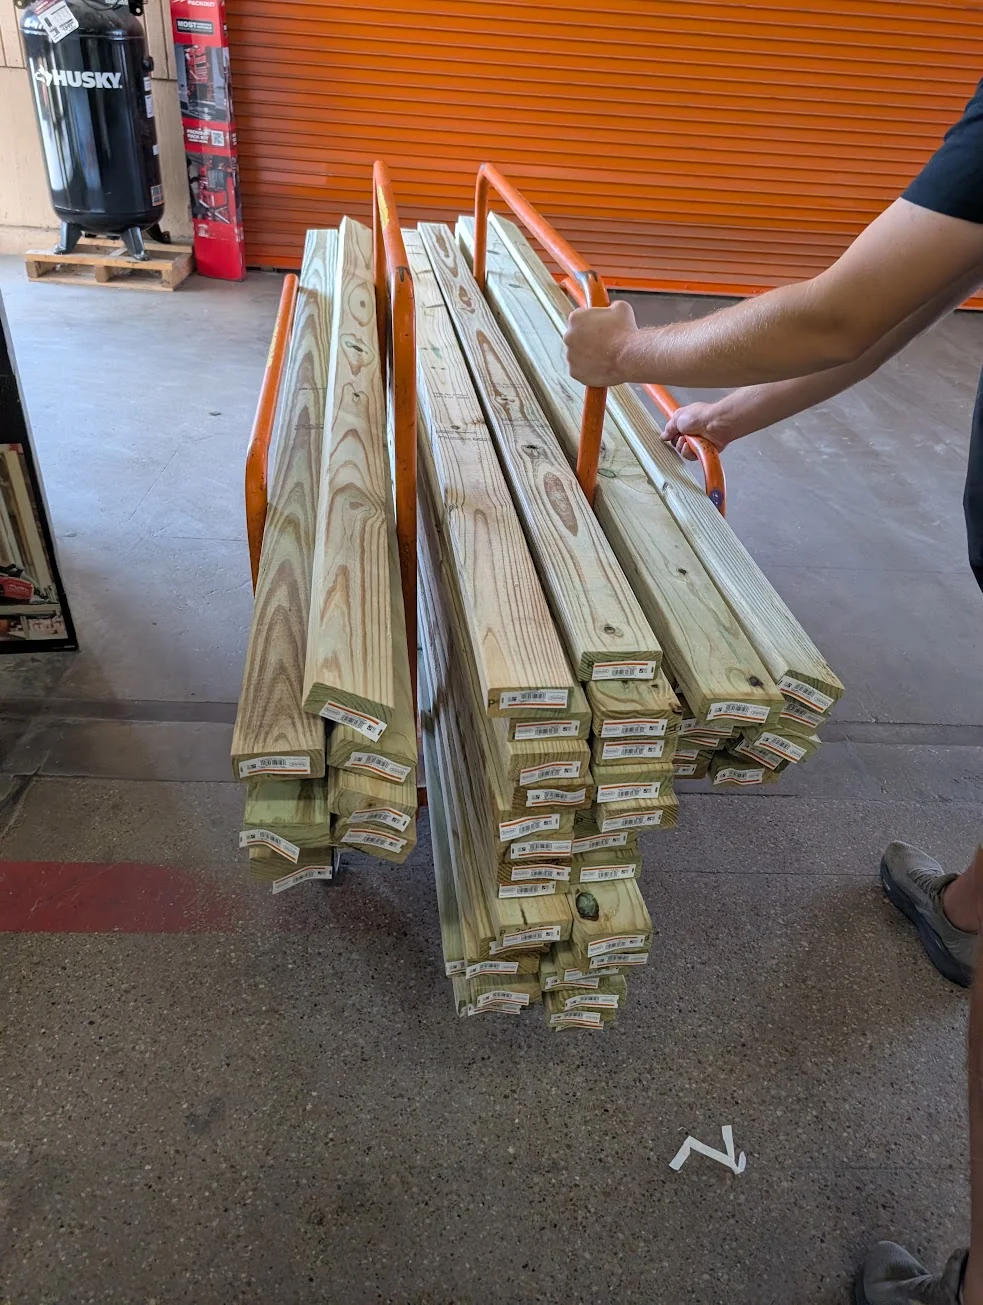
Then it’s time to spend some $$$, bring in the wood and get to work. Everything I build uses treated wood and rated structural screws for any structurally important components.
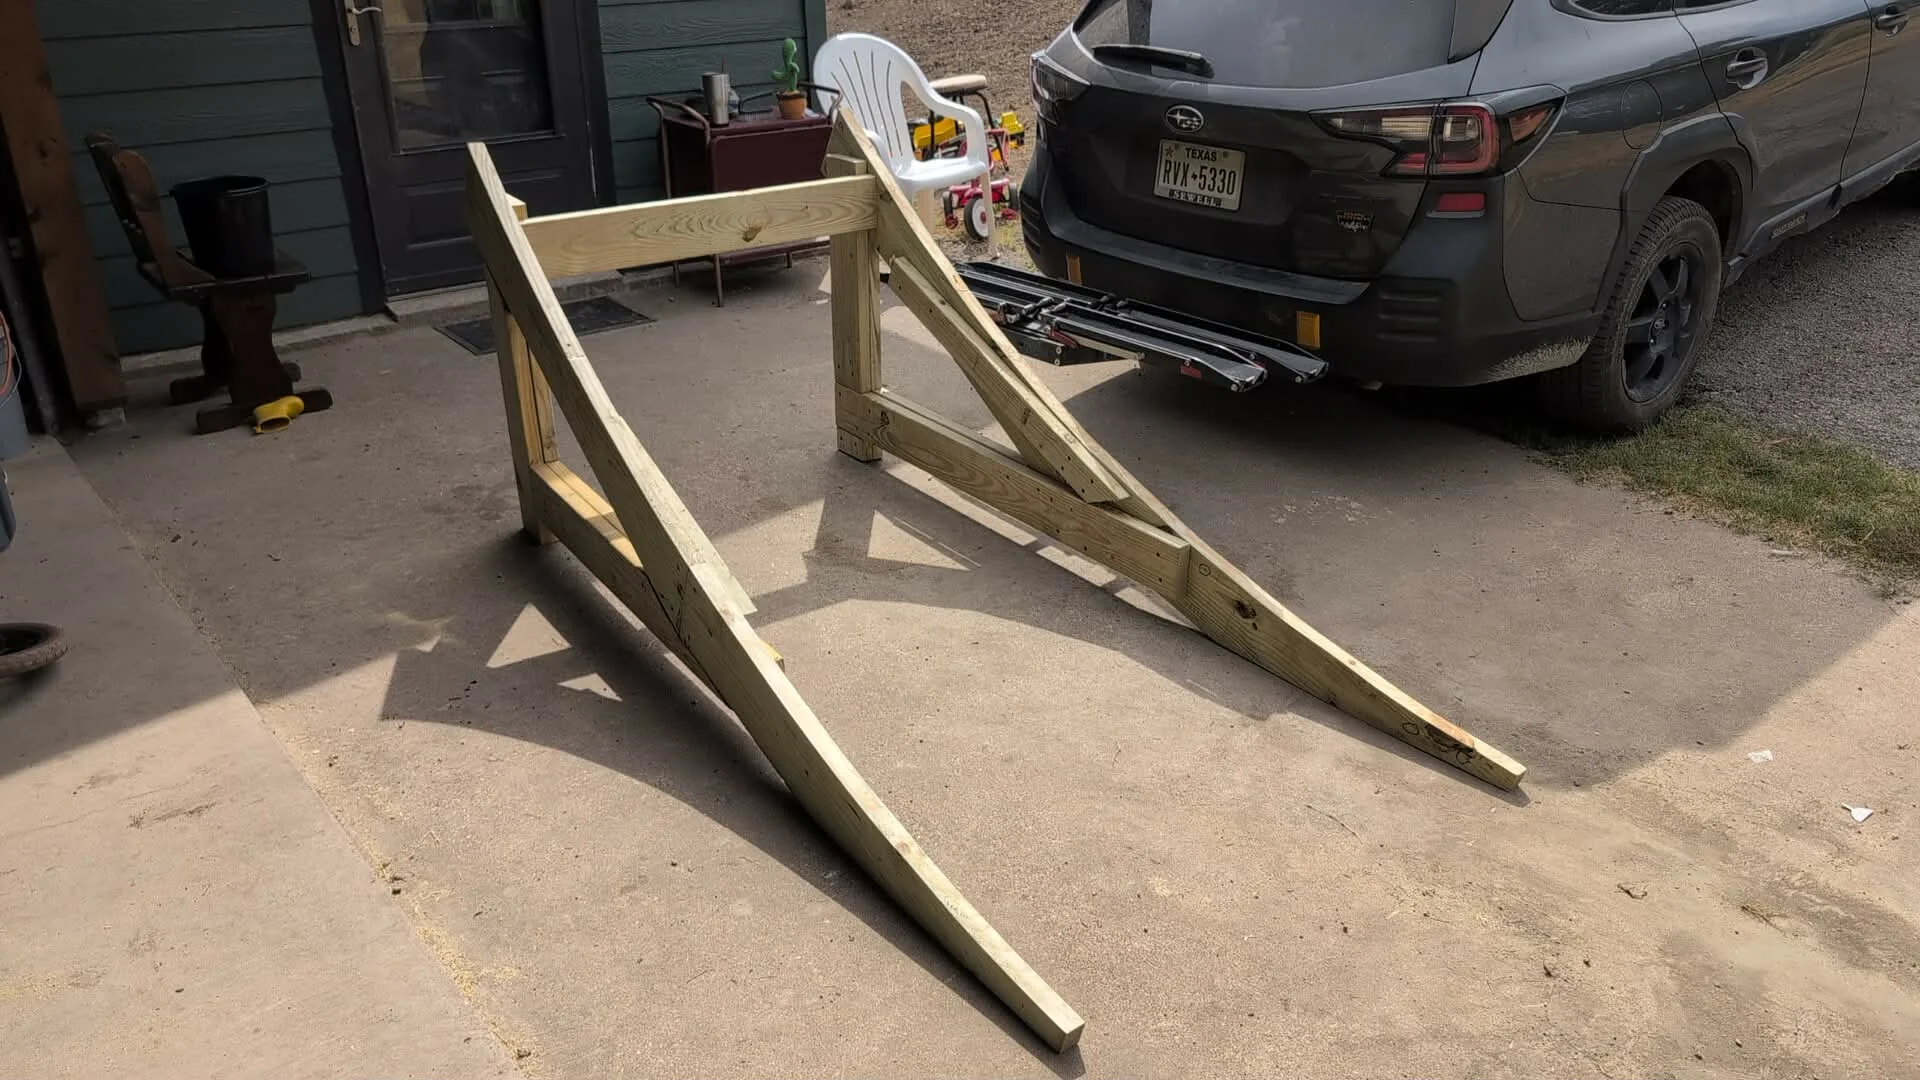
When it comes to building jumps, the most important parts are usually the two main sides, which define the jump arc, radius, and takeoff angle. I usually eyeball much of the rest of the structure, using the CAD plans as a rough guide and drawing on jumps I’ve built or seen other people build. At this point, I feel like I have a pretty good intuition, and I tend to overbuild—erring on the side of making things sturdier than they probably need to be. I have quite a few jumps that have been out in the weather for a few years now, and they still look great.
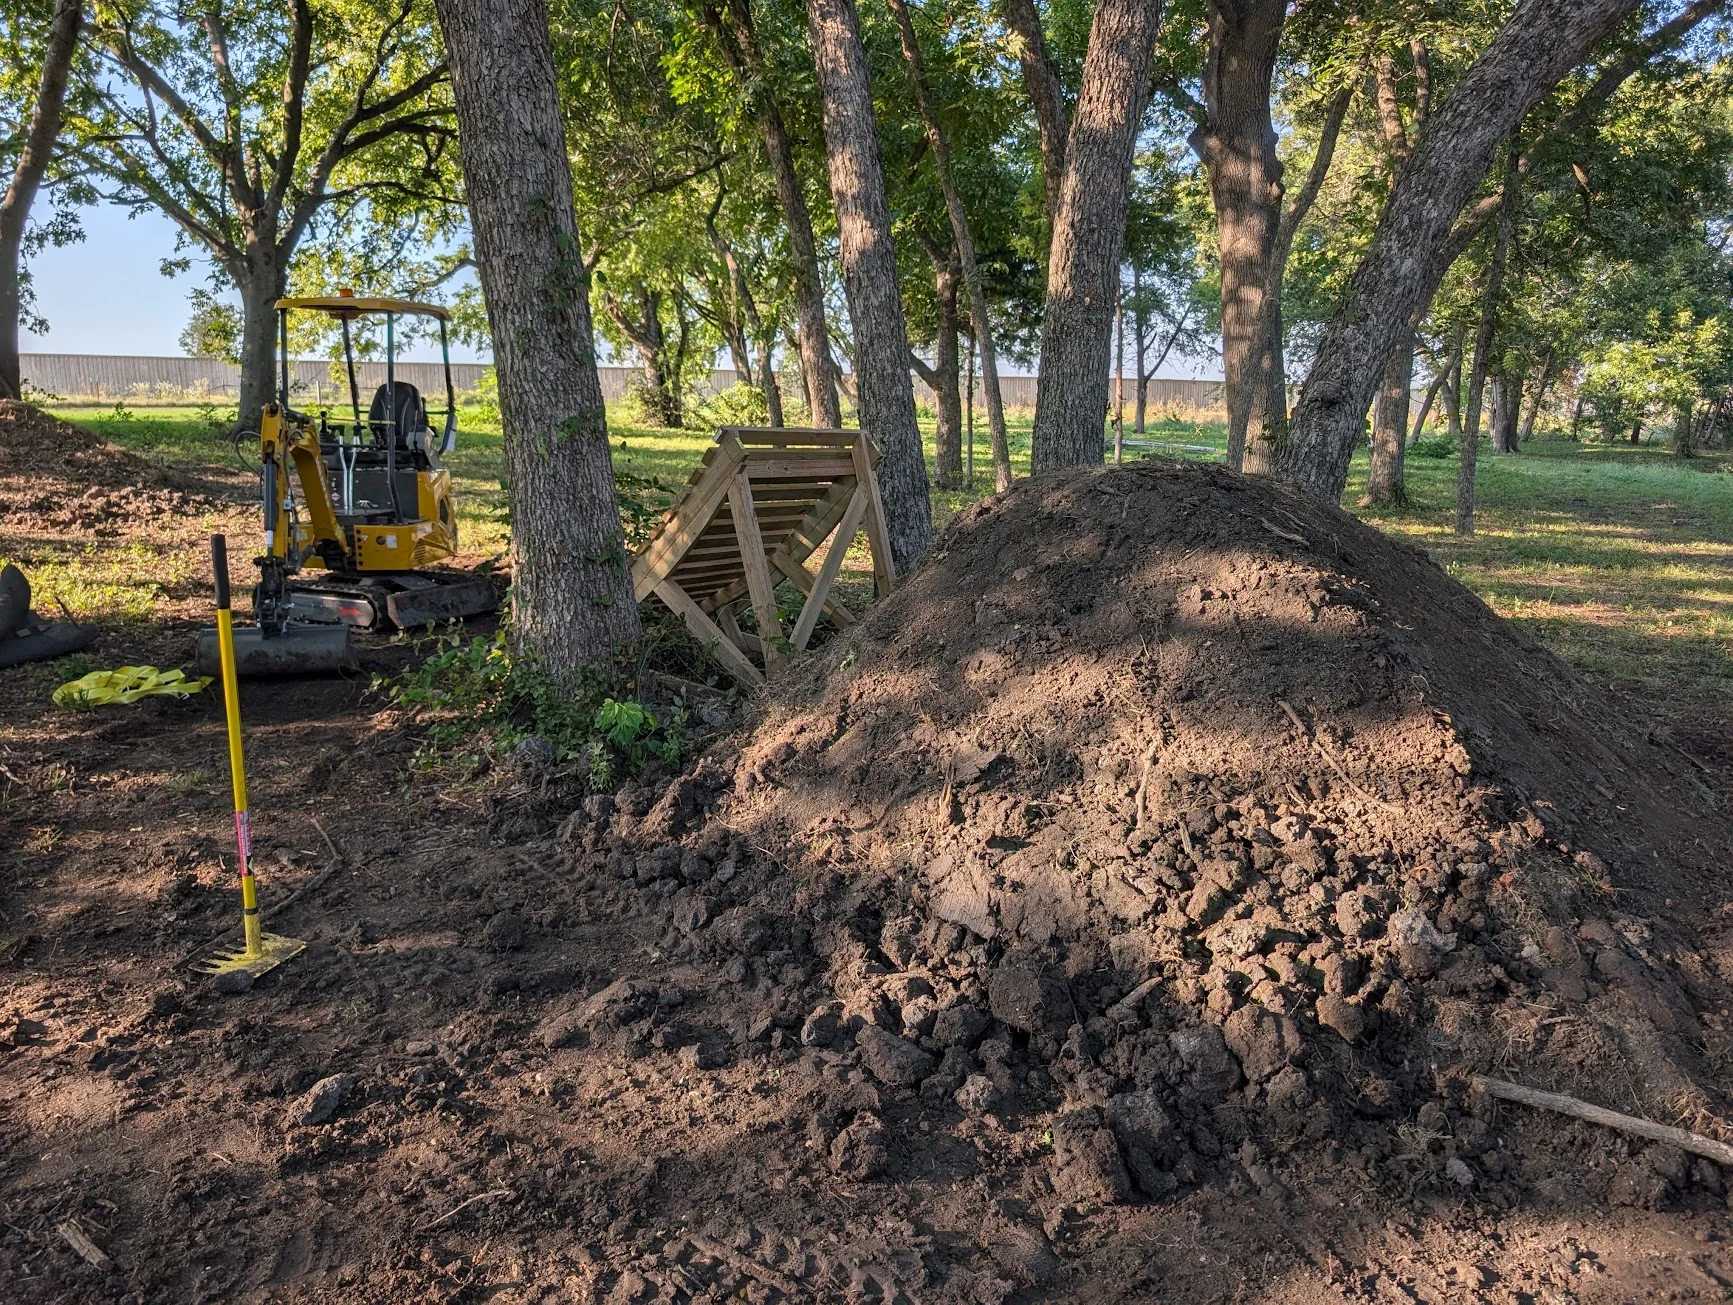
In the real world
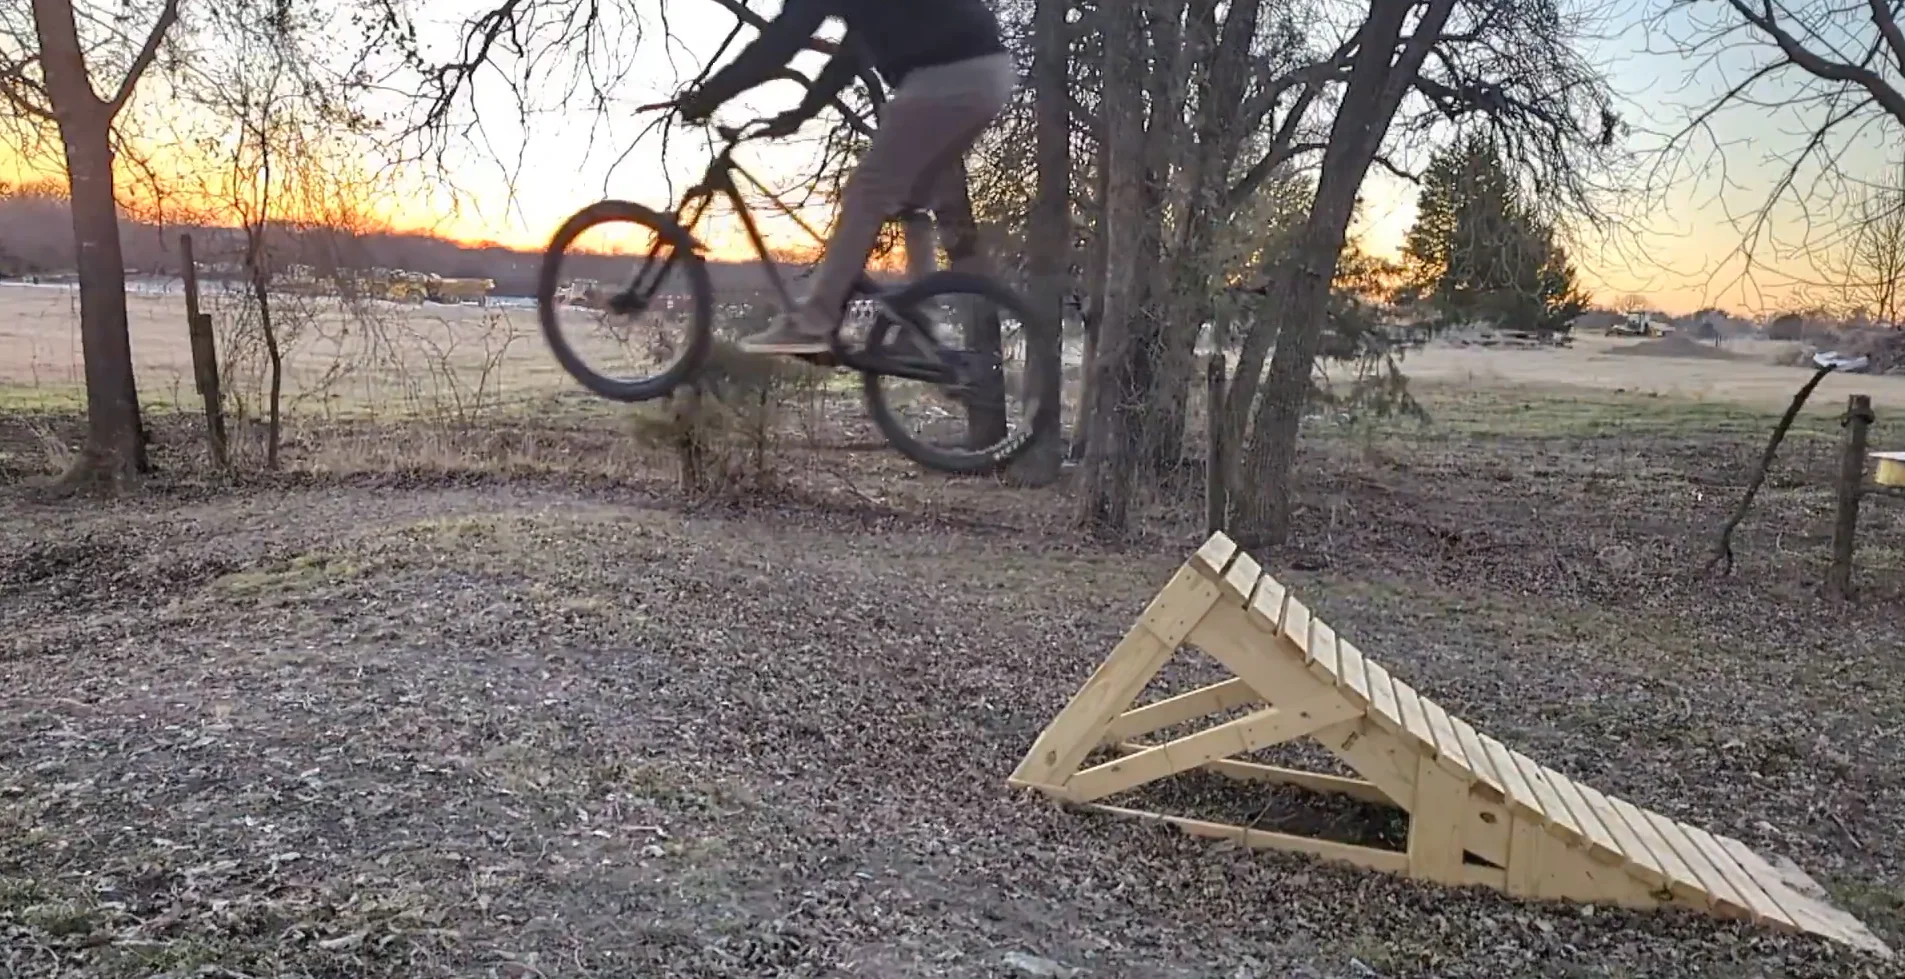
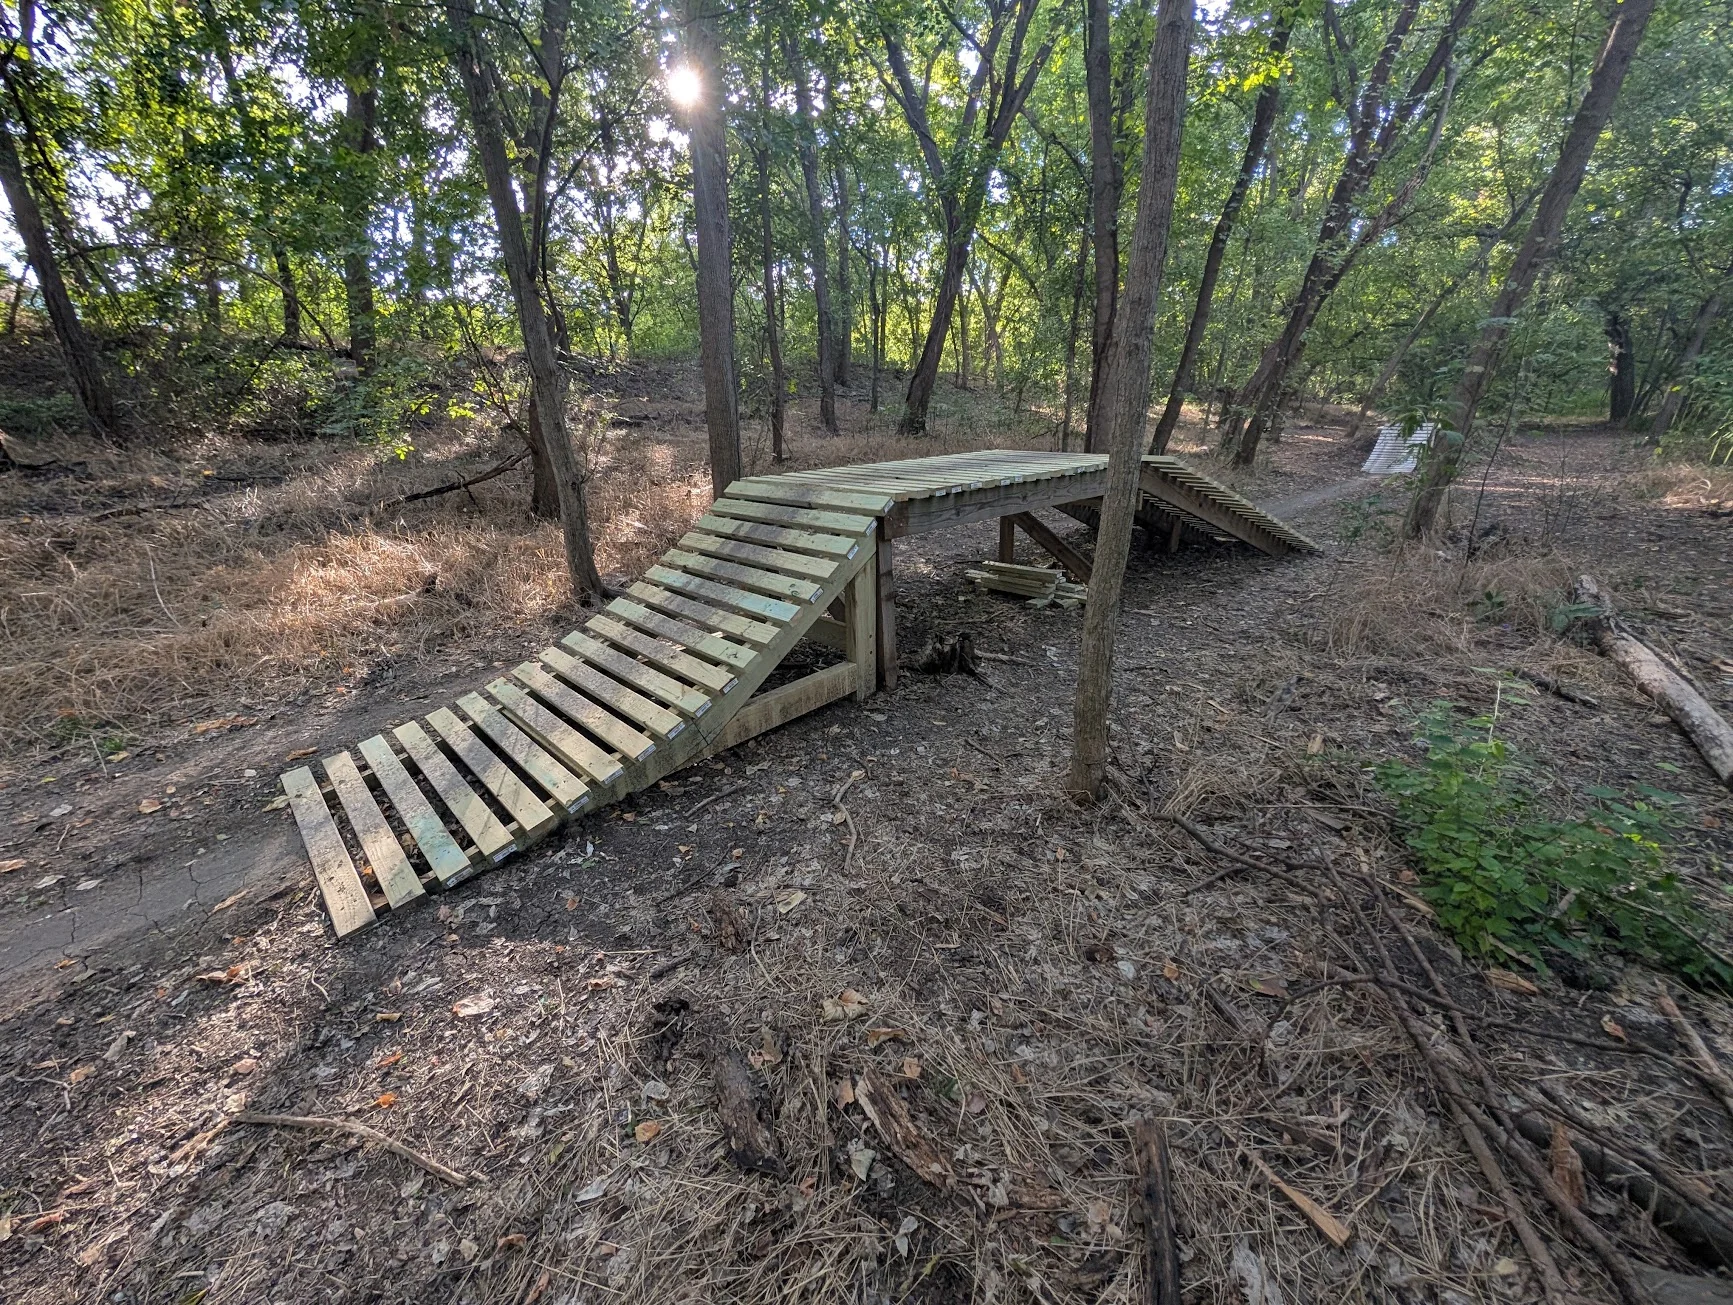
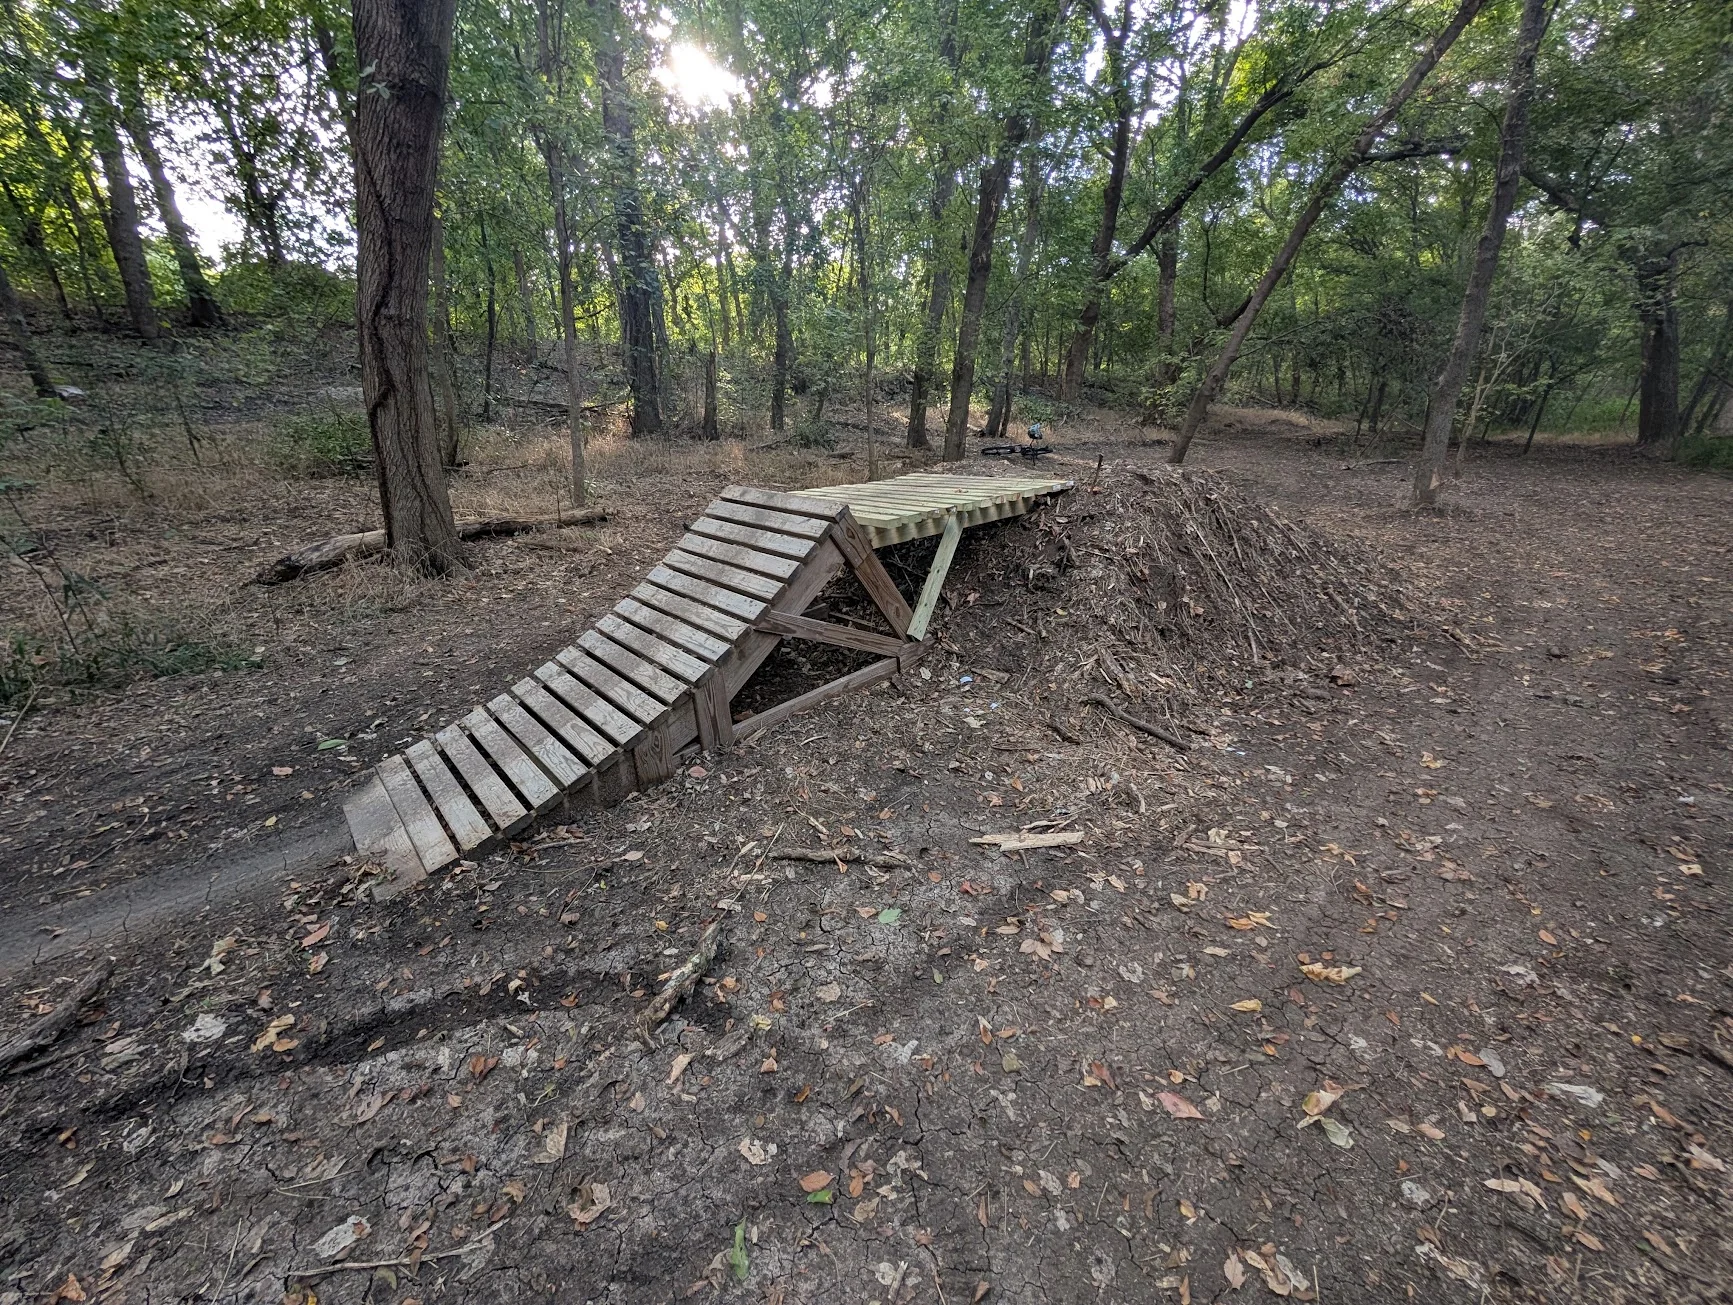
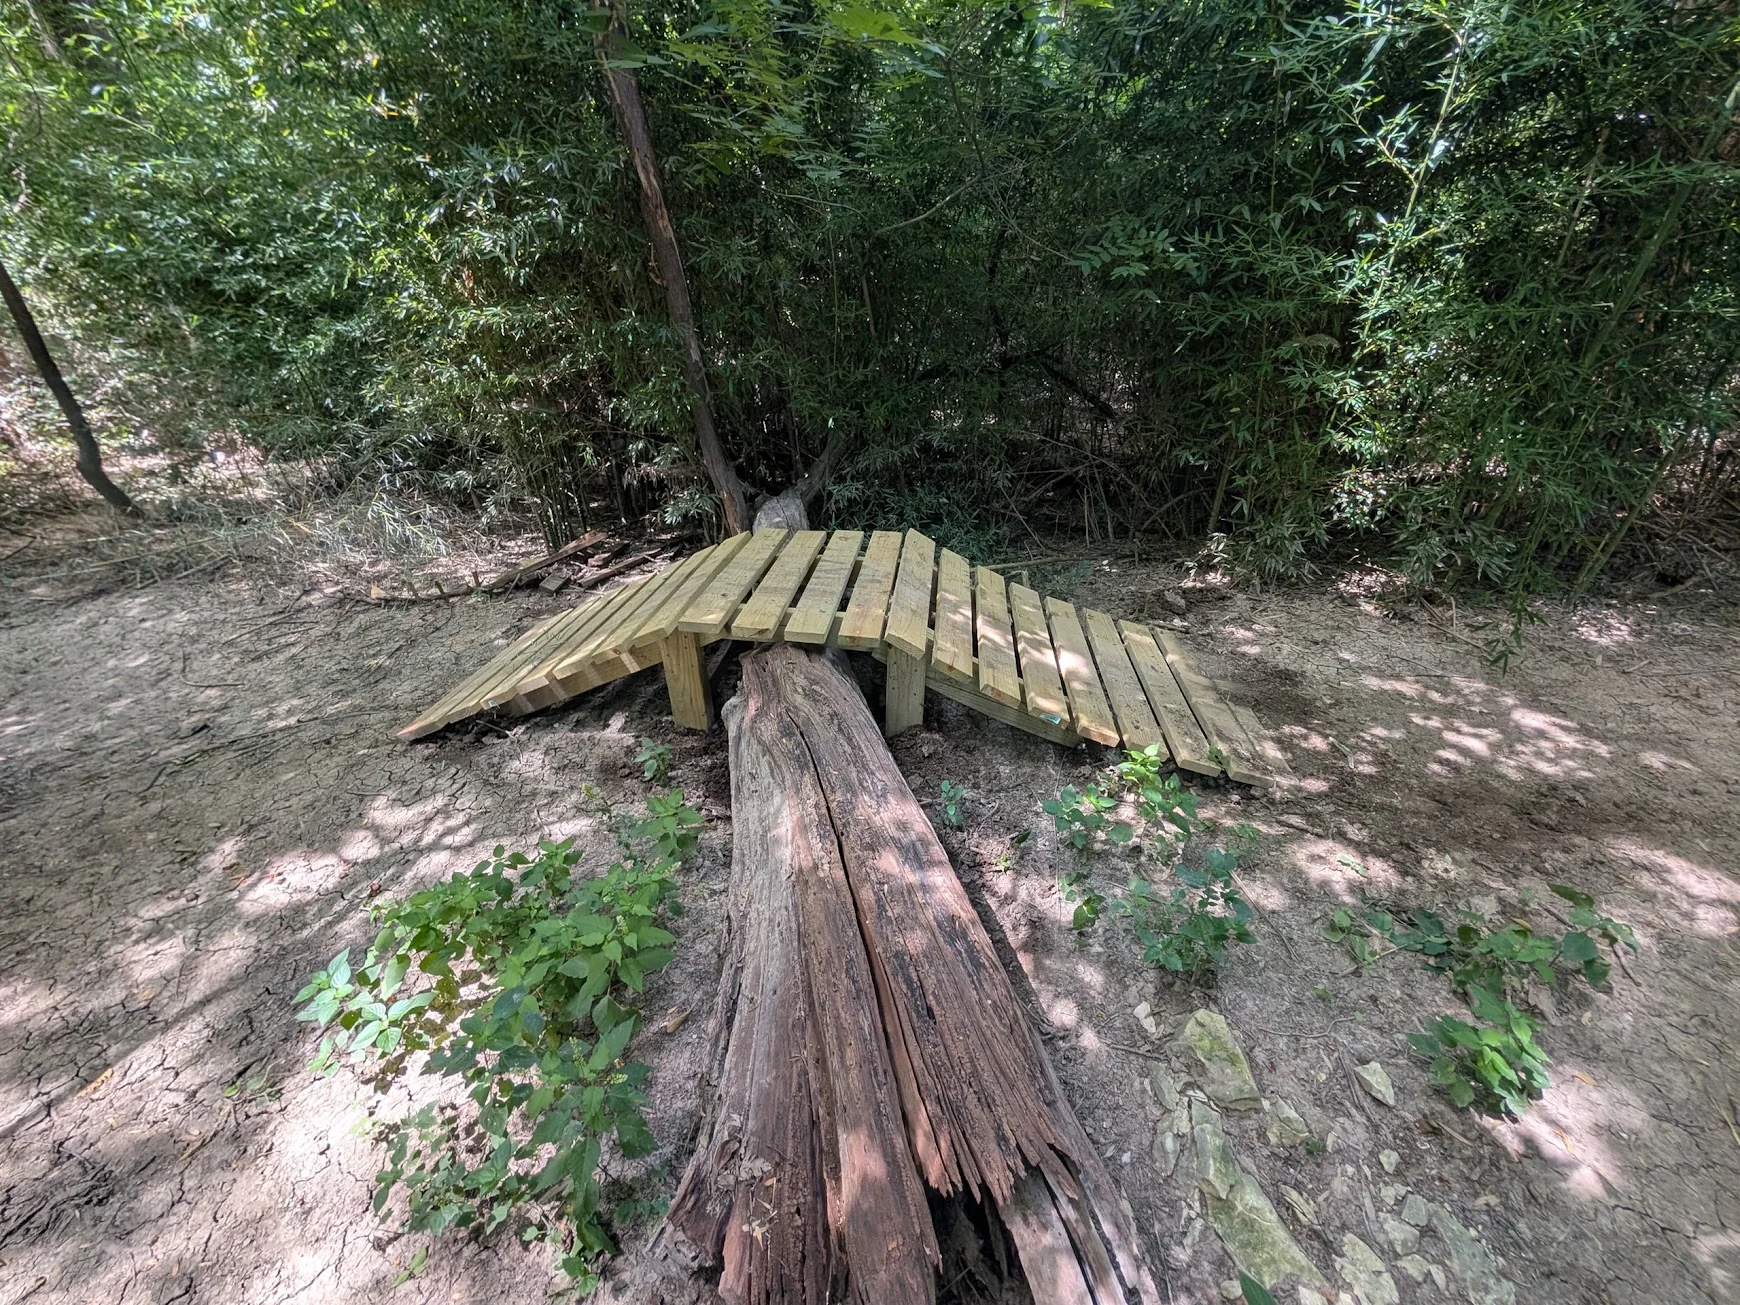
Here are a few of my builds: